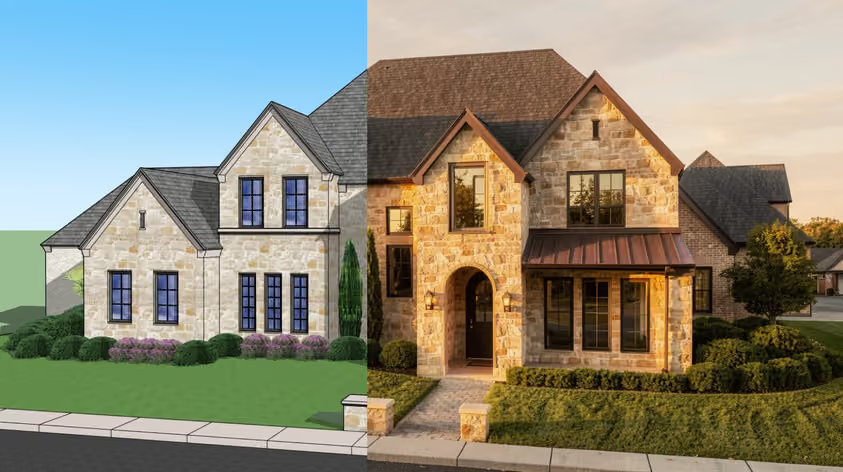
The room is already good, since you designed it. The trouble is that a lens sees a space differently from your eye. Most of what makes an interior design photoshoot successful happens weeks before anyone unzips a camera bag.
Here’s the full run, from the first calendar entry to the finished files.
Write down where every photo will end up first and let the intention guide your framing and your file specs. Besides making the workflow logical (and therefore, efficient), that list will also cap how many rooms you can realistically cover in one day.
Don’t forget to get the homeowner’s written permission to publish the images.
Plenty of designers handle their own social content and bring in a pro for the portfolio work. Each route is legitimate. It comes down to what a set of images is worth to your business. Money spent on an interior design photoshoot buys you time as much as quality, because a pro walks in prepared by experience.
If you’re going the DIY route, a tripod will improve your results faster than any lens upgrade. Keep the camera height around waist level or slightly lower to capture a natural view of the room’s layout and furnishings.
If the cost of a photographer scares you off, read our guide to shooting interior design photos yourself.
Pricing in this field is famously hard to place inside a range, because most work gets custom quoted. Use this as an orientation only, based on rates published by US interior and architectural photographers:
That being said, watch for the extras that arrive on top of the day rate: travel, licensing beyond your own marketing, rush turnaround, and a stylist if the project needs one. Budget the styling in any case, as even a few rented accessories add up.
Schedule for a weekday when the client is out of the house; shoots move faster when nobody needs to step around a family.
An example of what works for a typical residential project:
The sun goes first in your planning. You’ll want to shoot at the time of day when the space looks its best. Depending on window orientation, season and weather, direct sunlight can create sharp stripes over the floor or glare across mirrors. What looks attractively dramatic in person can make the photographer spend half the session blocking glare or waiting for shadows to shift.
Check the room’s orientation before fixing the date and time. East-facing rooms get direct sun in the morning, west-facing ones in the late afternoon, so decide whether you want that sun in the frame. On an overcast day, the light is gentler and more even, although darker interiors may lose some of their energy.
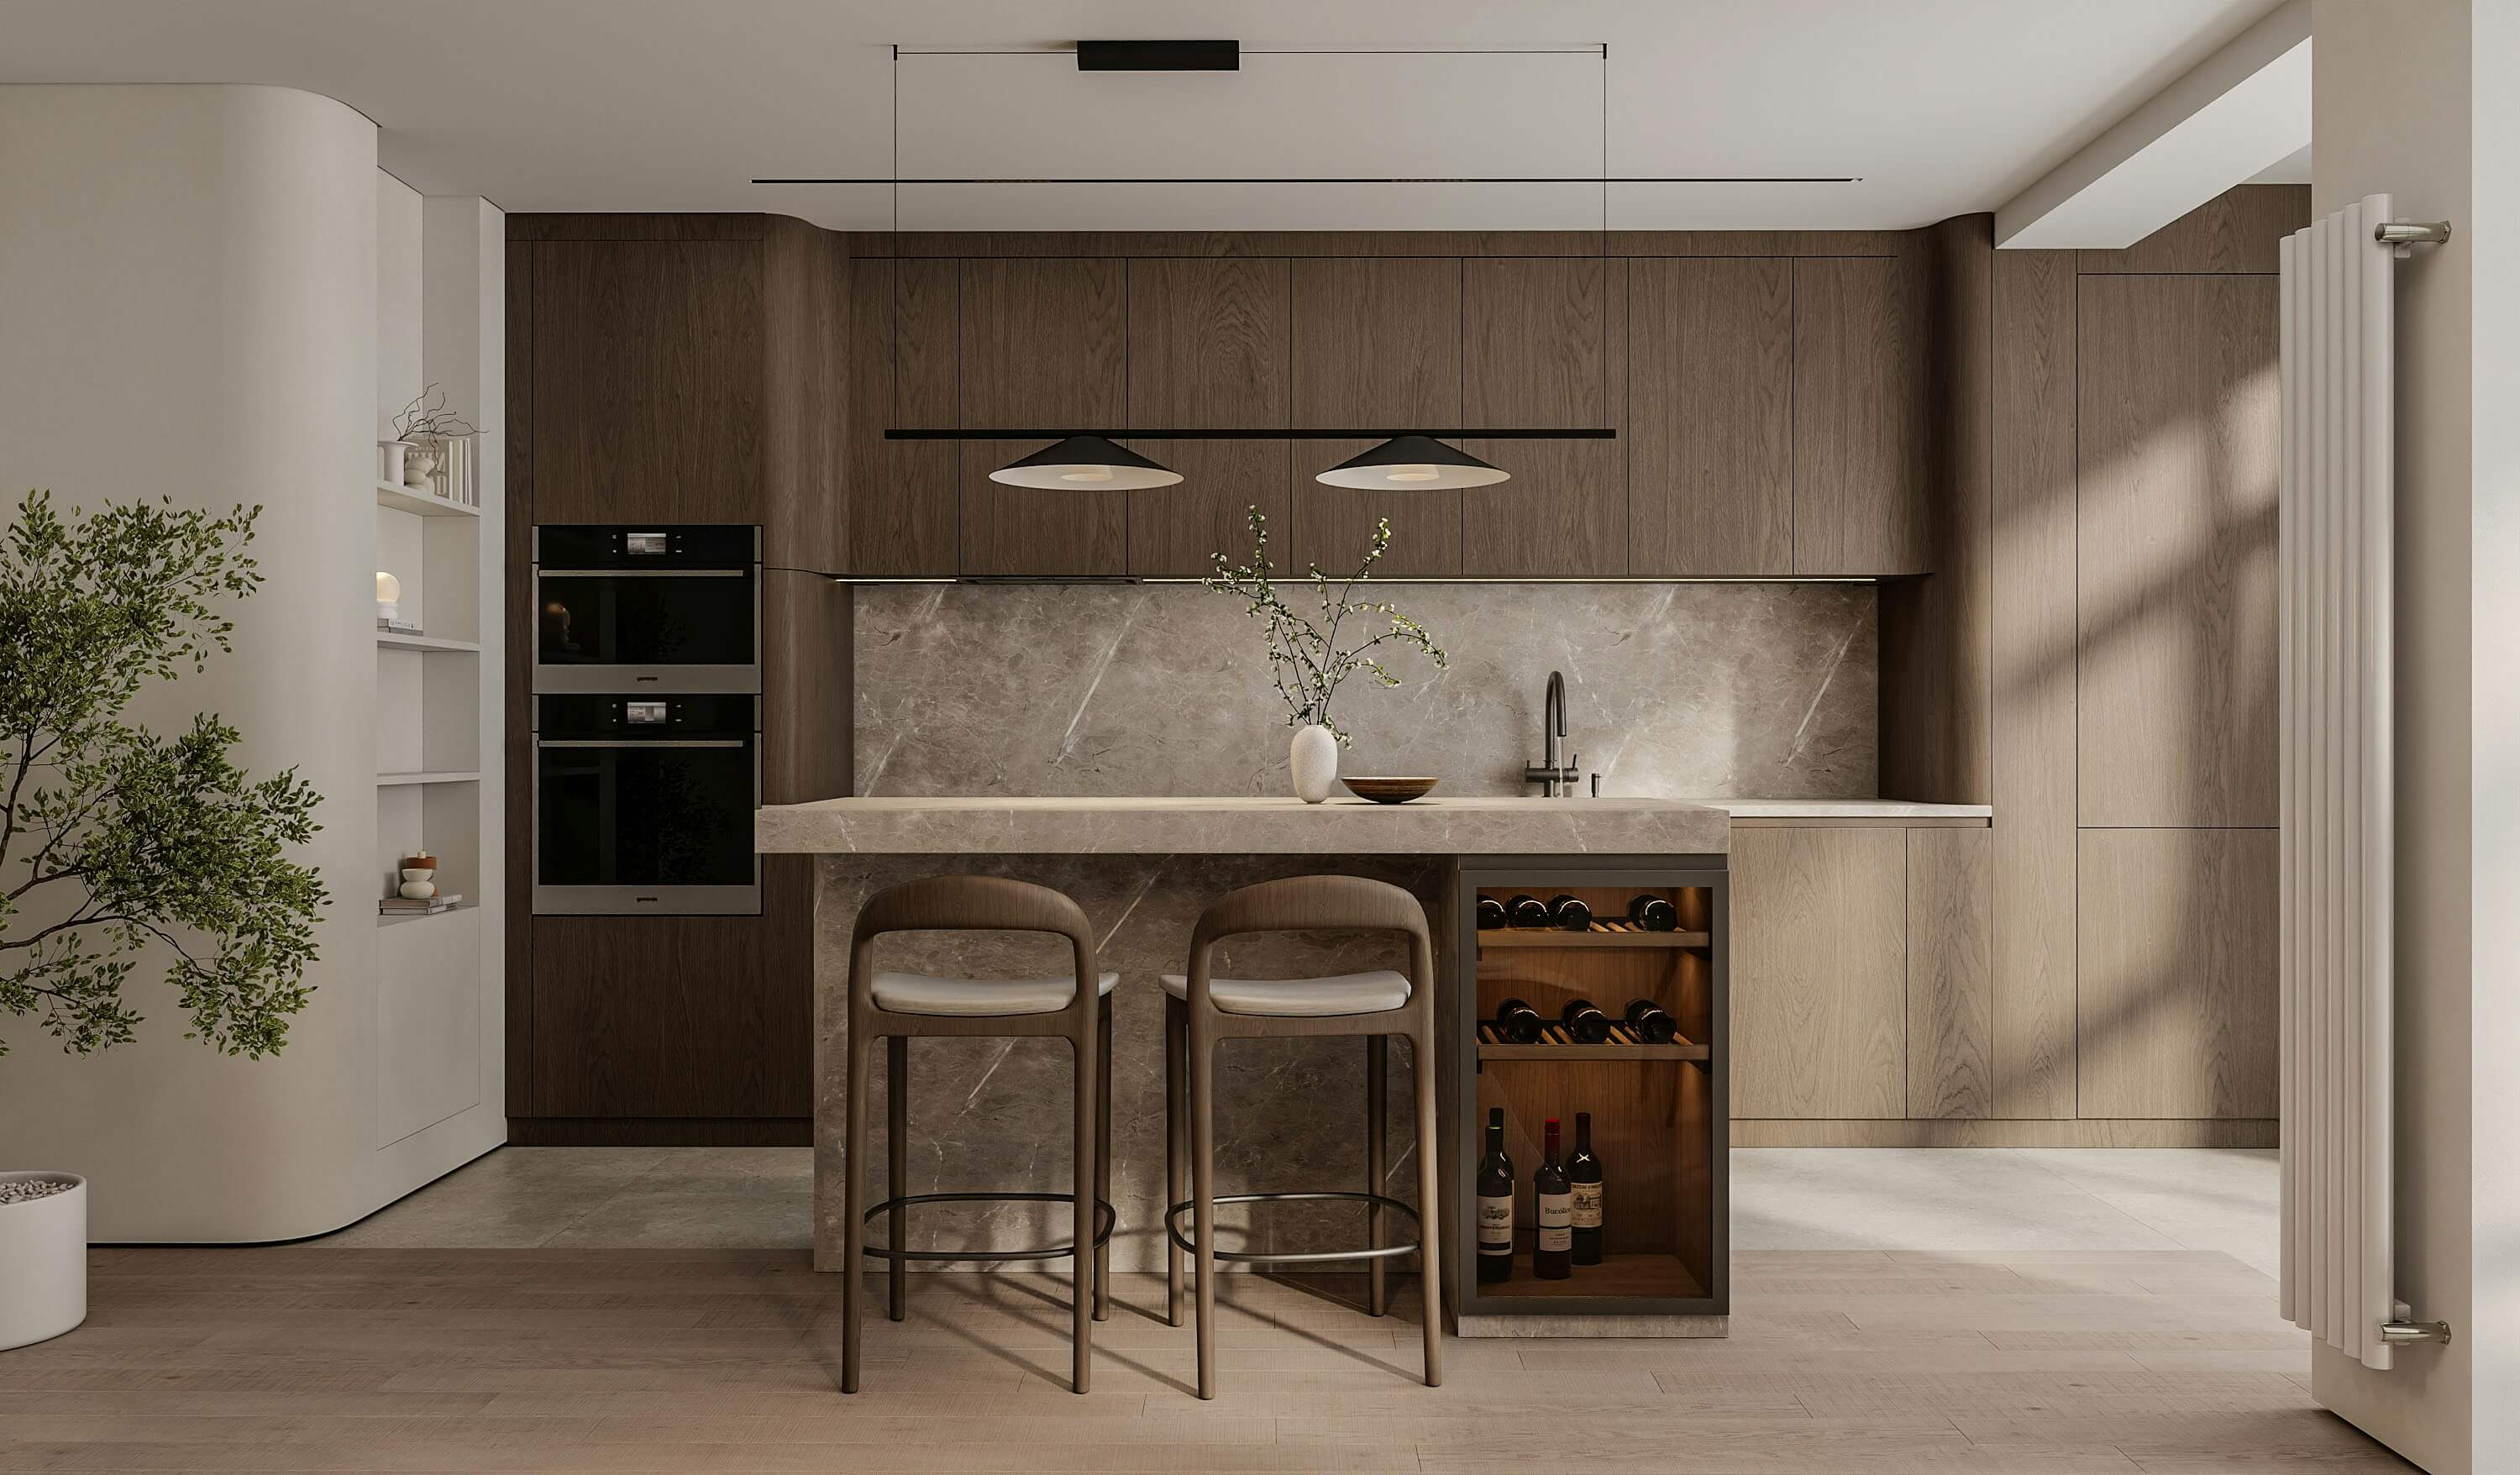
During the walkthrough three weeks out, take phone frames every hour or so and watch what the shadows do.
Styling equals preparing the room, and it’s not only about pretty interior design photoshoot ideas. Know that your eyes understand depth, so they forgive many unnecessary details or imperfections. You may barely register a charger cable or a soap bottle while standing there, but in a photograph, all of those things carry as much visual weight as the furniture. The same goes for anything branded and surfaces covered in text.
That is why a proper photoshoot preparation often involves removing objects even from a room that never felt cluttered to begin with. Yet, at the same time, stripping everything out can leave the image looking dead.
So after you finish with subtracting, just stand and look at the frame for a minute. It may now need a throw falling over the side of a couch, perhaps a branch or some greenery. Nothing too composed, you’re only trying to stop the room from looking stiff.
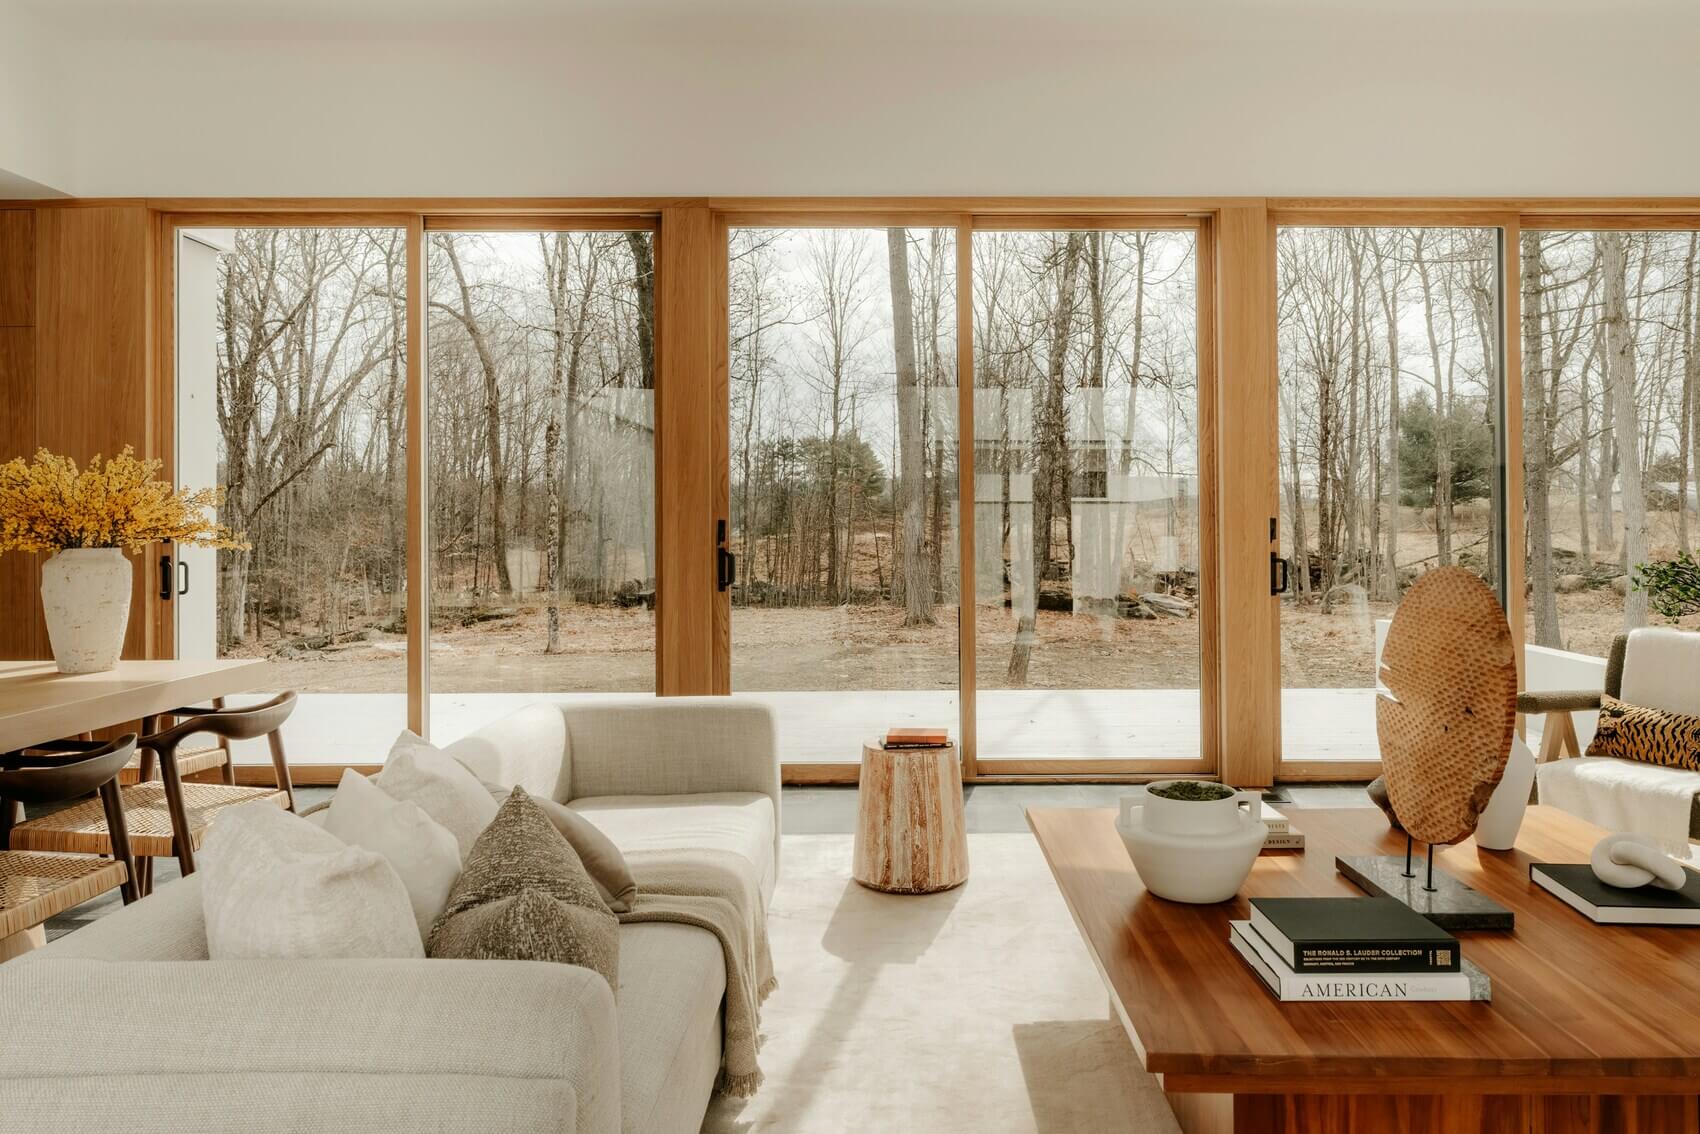
A few things pay off more than people expect:
Styling on the fly is the one thing to avoid, since it eats session time. Get the heavy work done the day before and use shoot day only for micro-adjustments.
Once the camera is out, it is easy to get absorbed in whatever looks good in the moment and miss something important. A written list keeps your process on its path, so cover these categories in each space:
Order the list by light, using your walkthrough notes so each room is shot at its best hour.
Send the photographer a short written brief about a week before the shoot. It doubles as a checklist when the files arrive. Include:
Photographers usually keep the copyright and license the images to you, so get the usage terms in writing before shoot day.
If you hire a pro, agree on the delivery date before the shoot, since turnaround varies by photographer. Their professional edit typically covers:
Ask upfront how many revision rounds are included. It’s worth checking what the license actually permits as well, especially if a furniture brand later wants to use the shots.
If you’re editing your own files, keep the corrections light. Interiors that get pushed too far in post start looking like renders, which defeats the point of photographing the real room.
AI rendering covers the cases where a photoshoot makes little sense:
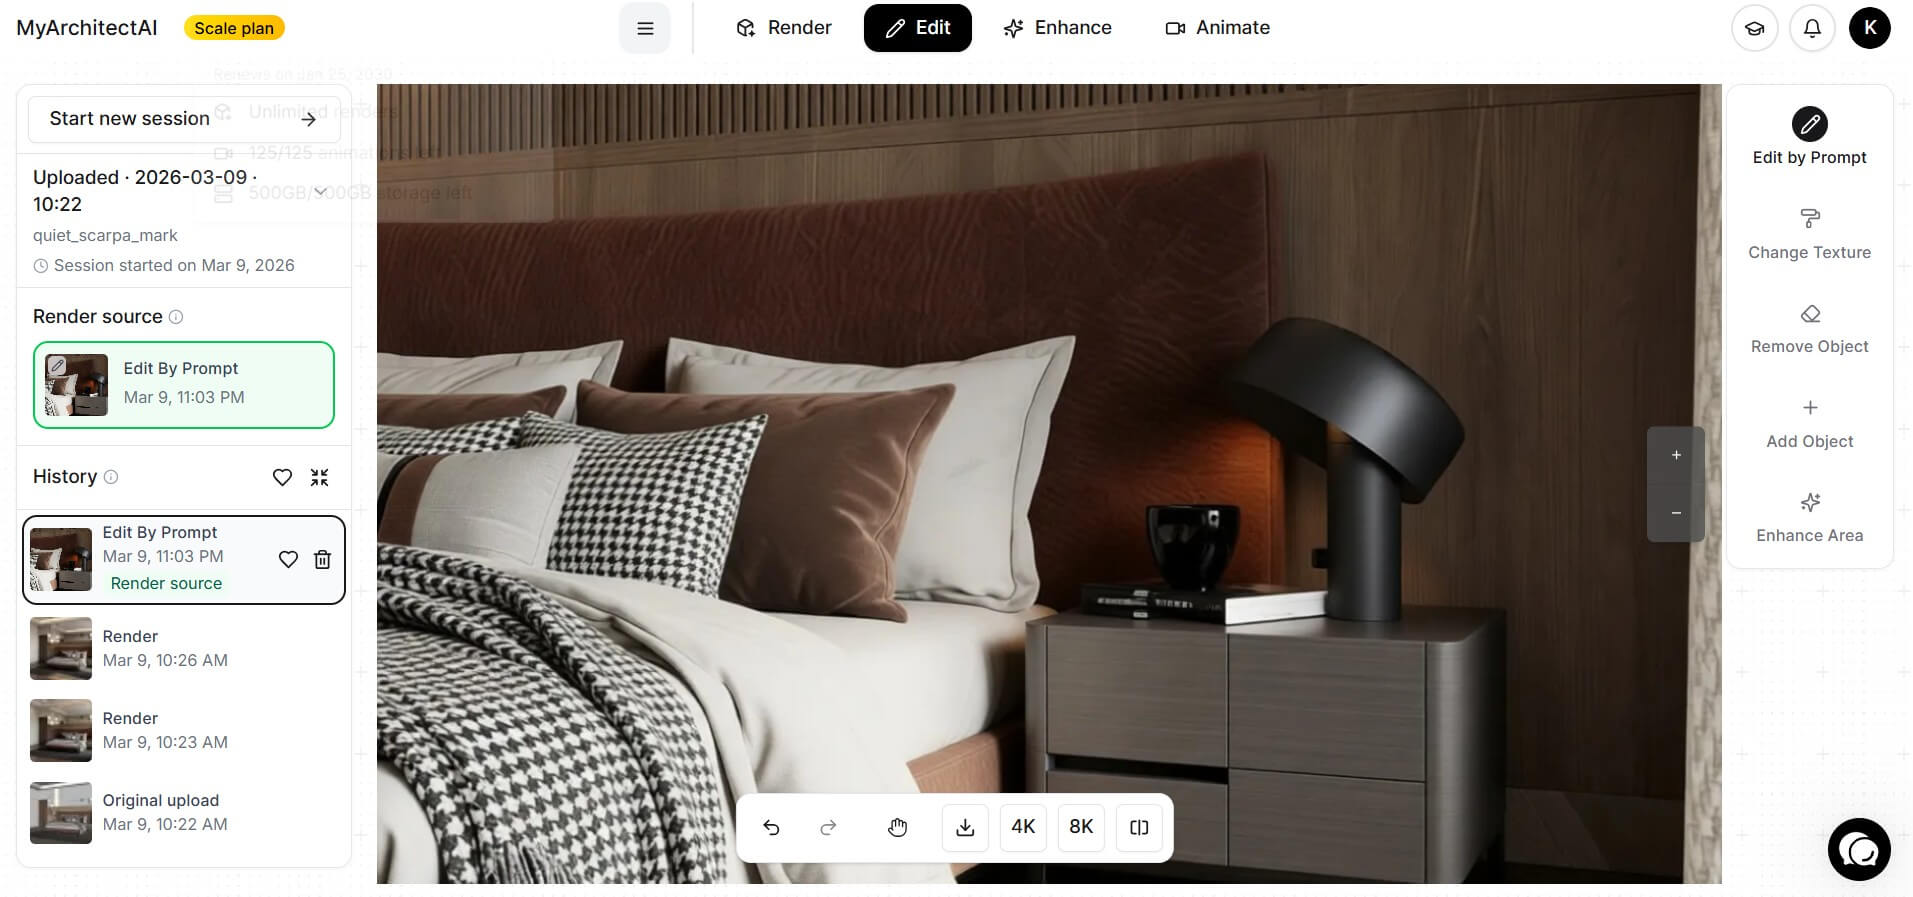
MyArchitectAI accepts a screenshot or exported image of your model, with an optional prompt. The company says 99% of still renders are ready in under 10 seconds and that its rendering mode preserves geometry and materials. Its style transfer feature is also useful during the mood board stage, since you can push a reference aesthetic onto your own design and see whether it holds.
Keep the two kinds of image apart. A photograph documents a finished space; a render visualizes a design, however photorealistic it looks. Label renders as visualizations in portfolios, proposals and social posts, and use real photography for completed projects and press submissions.
There is nothing to install: everything runs in the browser. See the gallery for examples, or try 10 renders free.
Published rates from US interior and architectural photographers put a full day on-site at roughly $1,500 to $4,000 and a half day at $800 to $2,000. Extra images and usage rights for other parties are usually quoted on top, and styling sits outside the photography budget entirely.
A single room can take an hour or more once styling is done, depending on how many angles you need. A full home will likely fill a whole working day, sometimes two if the property is large or the light is difficult. Always plan for more time than feels necessary.
For a simple residential shoot, probably not. If you can edit the room and notice when a surface feels too empty or too busy, you can usually handle the styling yourself. A stylist becomes useful when the shoot covers several rooms, the images are for a publication or campaign, or the space needs props brought in just for the camera. It also helps to have one when you’re short on time.
The 3-5-7 rule says that grouping objects in odd numbers, usually three, five or seven, creates more visual interest than even-numbered arrangements. Designers often break it on purpose in formal or traditional rooms where symmetry suits the space better, such as chairs around a dining table.
For an interior design photoshoot specifically, the rule earns its keep on surfaces. Odd groupings stop the eye from locking onto a symmetrical pair, which is why styled console tables often photograph better than matched ones. Treat it as a starting point, not a magic formula.