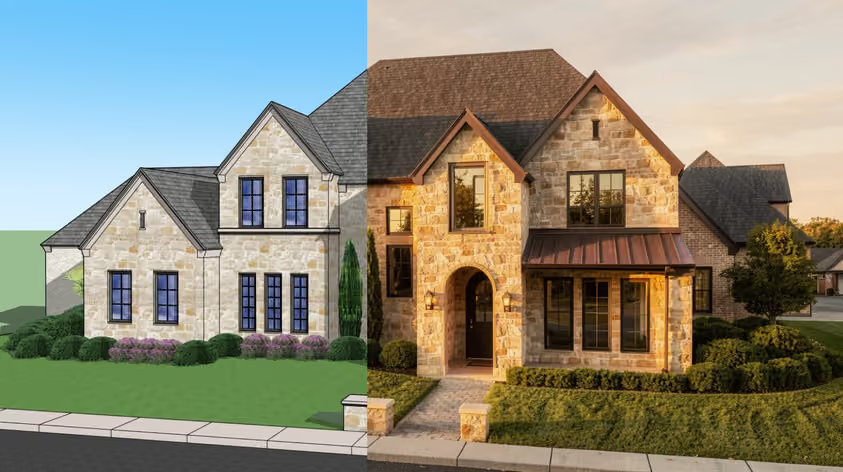
Presentation is everything, especially when it’s visual. So why can a beautifully designed room look flat and forgettable in a photo?
Because interior design photography is a discipline of its own. It depends on your eye as much as on where you place your lens or how you handle the light that’s already there. Once those pieces click, your photos will start doing justice to the work behind them.
This guide covers the skills that matter most in 2026, from the gear in your bag to the final edit, plus where AI rendering fits when a space isn’t built yet or can’t be photographed.
Intention, for a start. What separates a magazine-worthy image from an amateur snapshot is storytelling: a strong photo shows the room’s beauty and evokes emotion at the same time, and the best ones linger in your mind long after you scroll past.
Some confuse real estate photos and interior design photos. They do look similar at a glance, yet perform different jobs for different purposes.
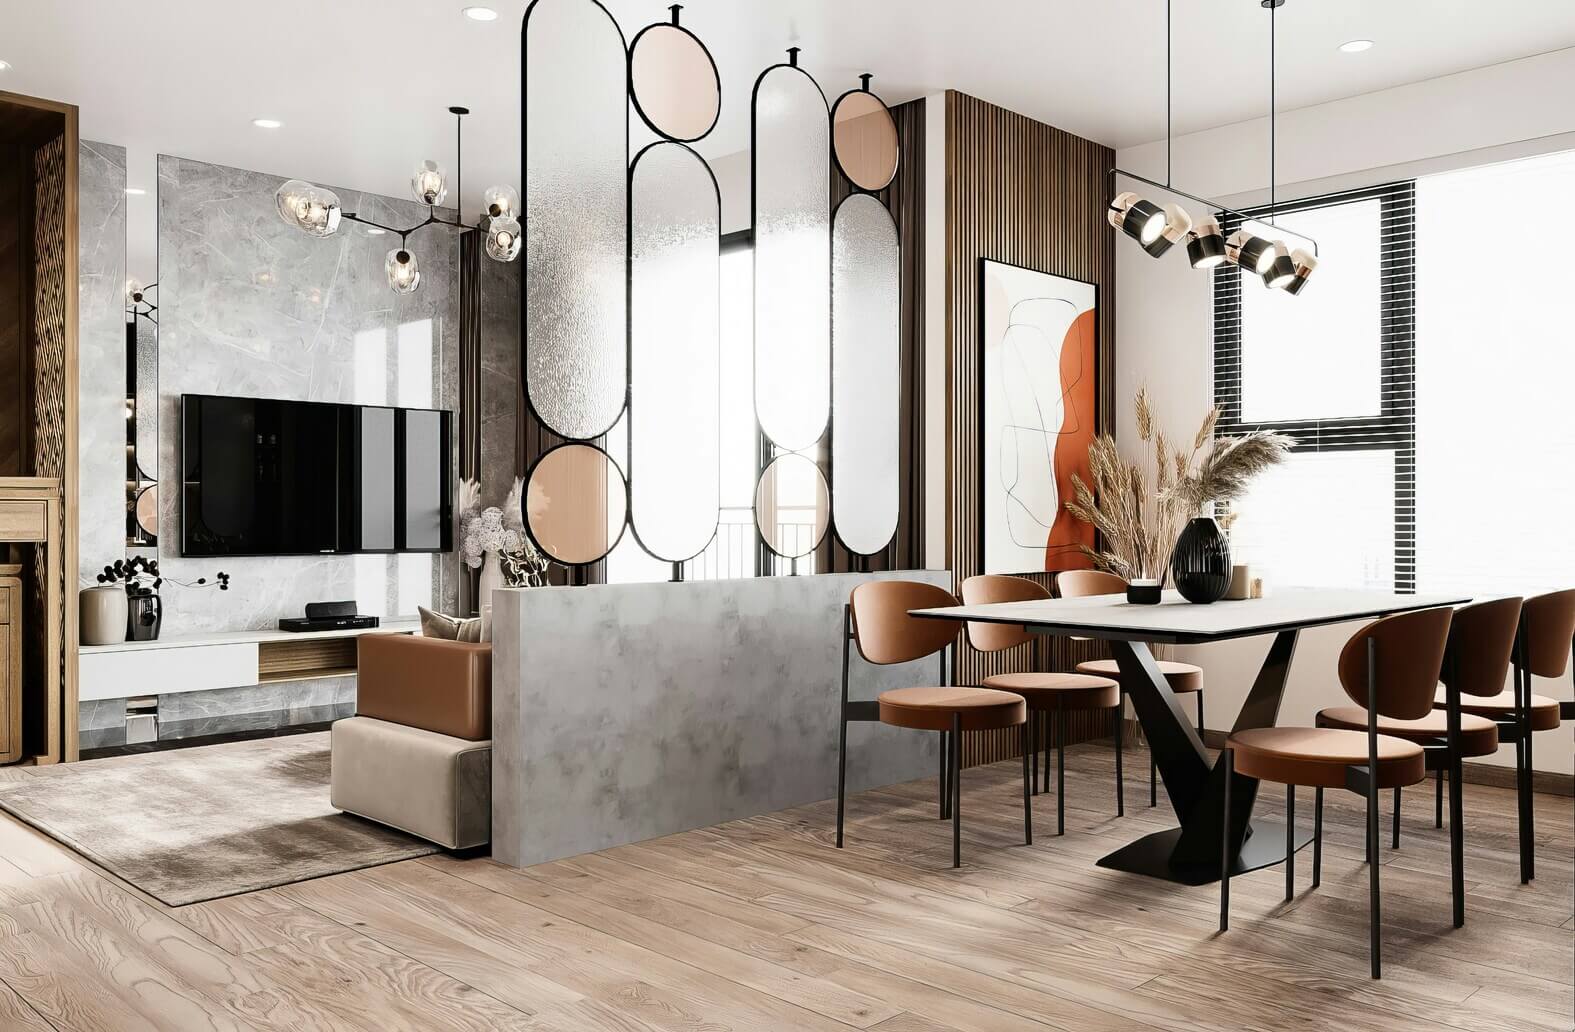
The interior photography tips that follow all build on that kind of storytelling mindset.
No, you do not need a bag stuffed with expensive equipment to shoot interiors well. Your command of the body matters more than the badge on the front.
A camera with manual controls is, of course, the foundation, and most current mirrorless and DSLR bodies that shoot RAW will do the job.
As for lenses, a wide-angle zoom in the 16-35mm range (full-frame terms; roughly 10-22mm on APS-C) is the workhorse for full rooms, especially when you are tight on space. Going very wide stretches objects near the frame edges and can warp the furniture, though, so many rooms look more natural around 24-28mm. Let the space decide, and reach for a 50mm or longer for clean detail shots with a soft background.
A sturdy tripod is not strictly a necessity, but it is highly recommended. It keeps your camera steady during long exposures and holds your framing while you fine-tune the light.
For more details and recommended options, check our guide on the best cameras and lenses for interior design photography.
Your interior photography camera settings are the technical foundation. No fear, though: a fairly consistent setup will get you through most interiors.
Start in manual mode and shoot RAW. RAW files hold far more image data than JPEGs, giving you room to recover bright windows and dark corners, and to adjust white balance, when you edit.
Here is how to take interior photos from a dependable starting point. Treat these numbers as defaults to adjust, not rules:
That last one is why the tripod matters. As a starting guideline for handheld shots, use a shutter speed no slower than one over your full-frame-equivalent focal length: about 1/25 of a second at 24mm on full frame, or about 1/40 of a second at 24mm on APS-C. Image stabilization and steady technique affect how far you can push that.
For focus, use single-point autofocus on the most important feature in the room, then confirm it by zooming in on your screen in live view.
Few things shape interior design photography as much as light. Natural light gives rooms their most believable look, so strong interior photography lighting usually starts with the sun.
Open every blind and curtain. The best time of day depends on which way the windows face: soft, indirect light is easier to work with than hard patches of direct sun, and an overcast day keeps the light even for hours.
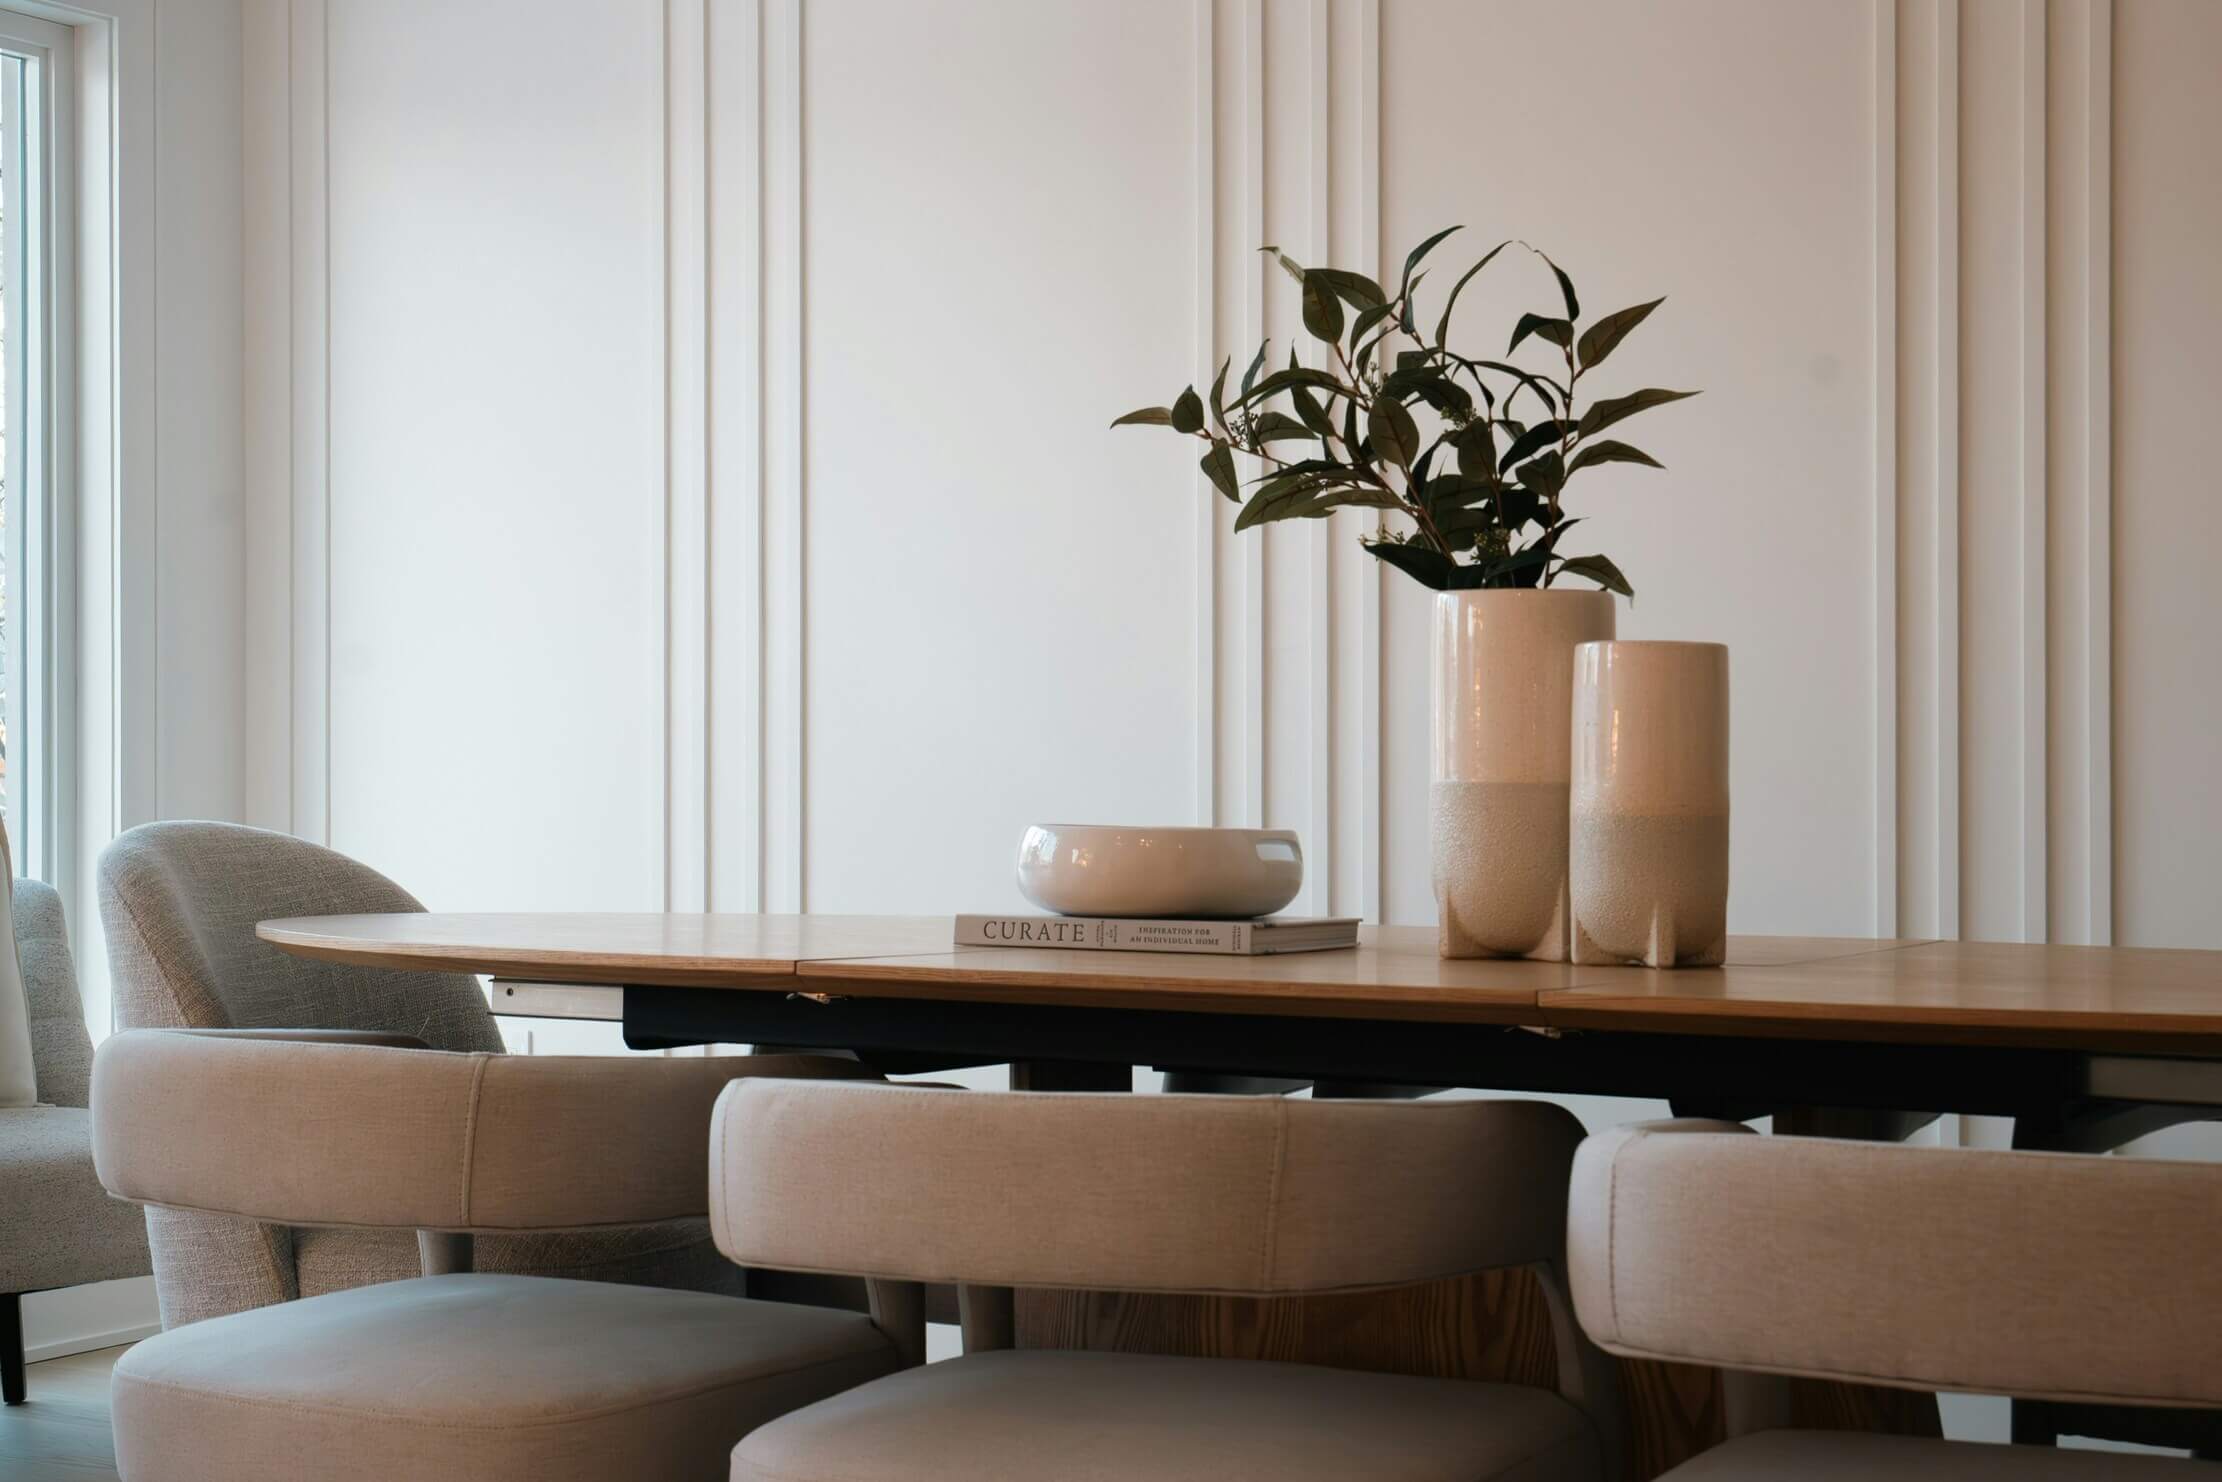
If the sun through a window turns harsh, use sheer curtains as a diffuser. They soften the light and cut the contrast between the window and the shadowed corners of the room.
Speaking of windows, they create the trickiest problem in interiors, because the view outside is often far brighter than the space inside. Two ways to solve that:
Mixed light is the other thing to watch. Daylight is cool, roughly 5000K to 6500K depending on conditions, while warm-white bulbs usually sit around 2700K to 3000K, so the colors clash when both hit the same room. The cleanest fix is usually to pick one dominant source (often the daylight), match your white balance to it, and switch off the lamps that fight it.
This is another part of interior architecture photography that separates professional images from amateur ones.
The golden rule is to keep your vertical lines straight. Door frames and cabinet edges should run perfectly upright in your frame. The moment you tilt the camera up or down, those verticals converge, and the whole room looks like it is leaning.
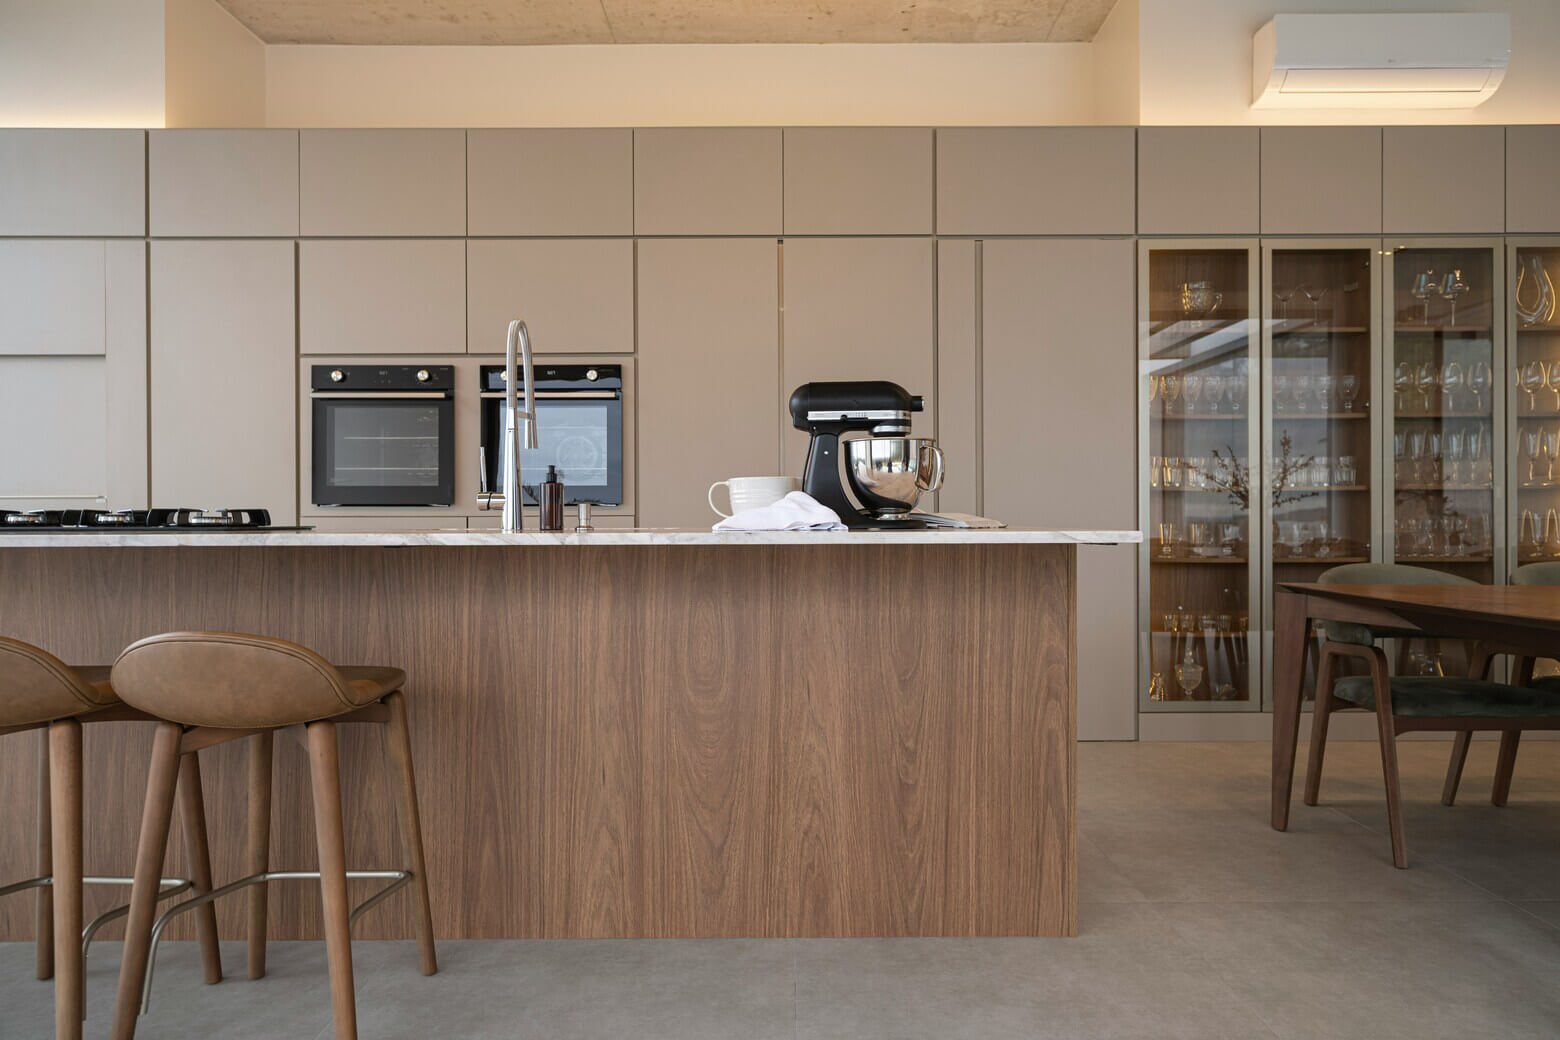
To avoid that lean, keep the camera level with the ground. Chest height, roughly four to five feet off the floor, is a good place to start because it is close to how you naturally see a space. Drop lower when a room is full of low furniture.
When a level camera can’t take in everything you need, you have two solid options. A tilt-shift lens keeps the sensor parallel to the walls while shifting the view upward, which holds your verticals straight in-camera, but it is a specialist and expensive lens. The lower-cost path is to shoot with a quality wide-angle, leave a little extra room around the frame, and correct the perspective in editing.
For framing, the rule of thirds is a dependable place to begin, with key features set along those lines for balance. Use a doorway or an archway to frame your subject and lead the eye inward.
A full set of interior design photography moves through a few levels of framing. That progression, from wide to tight, is one of the most useful interior photography techniques for telling a complete story about a space.
The establishing shot. Start wide to set the scene and show how the room fits together. This is the hero image that gives everything else context, and one strong wide frame per room usually does the job.
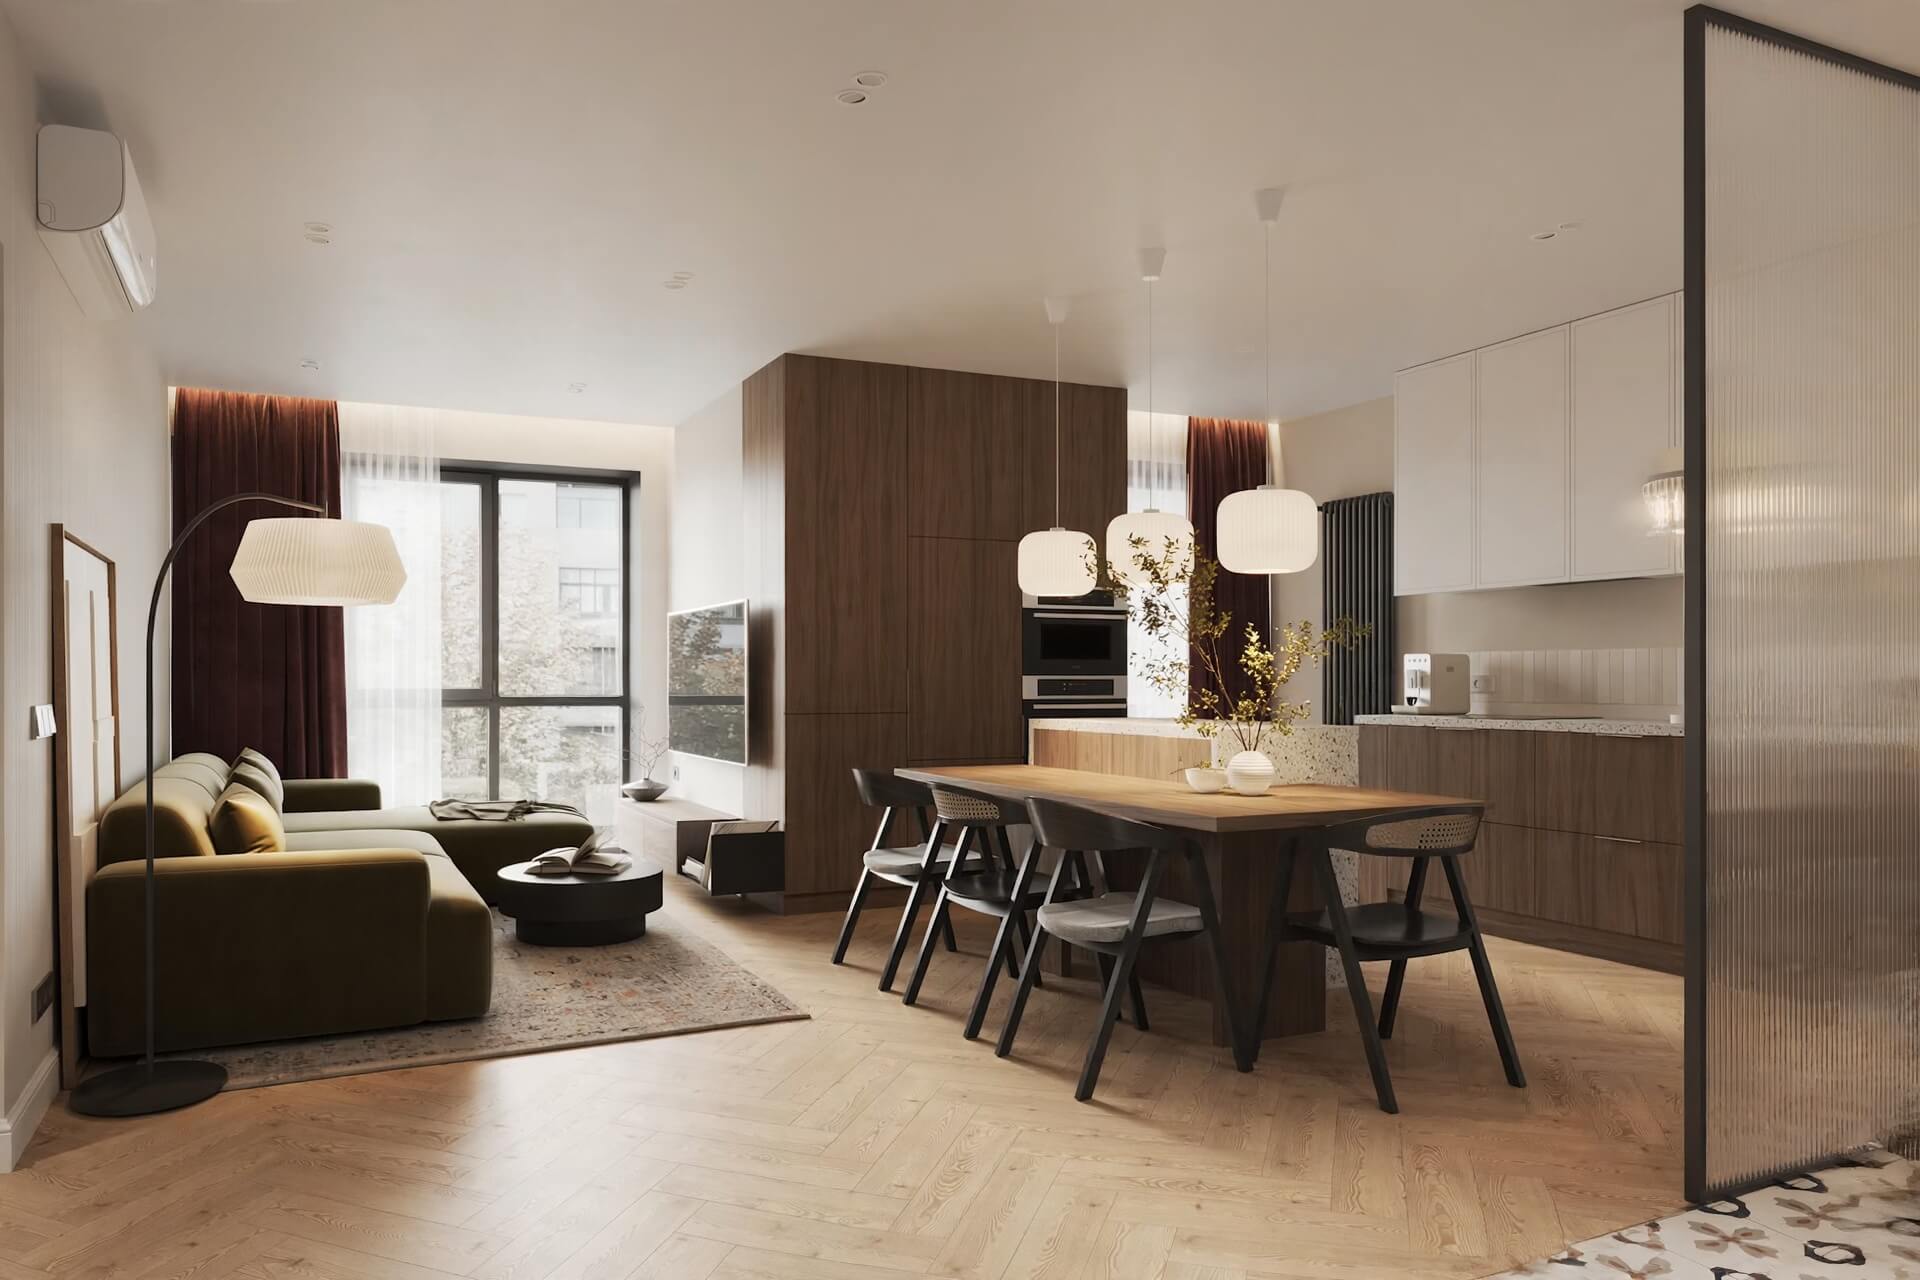
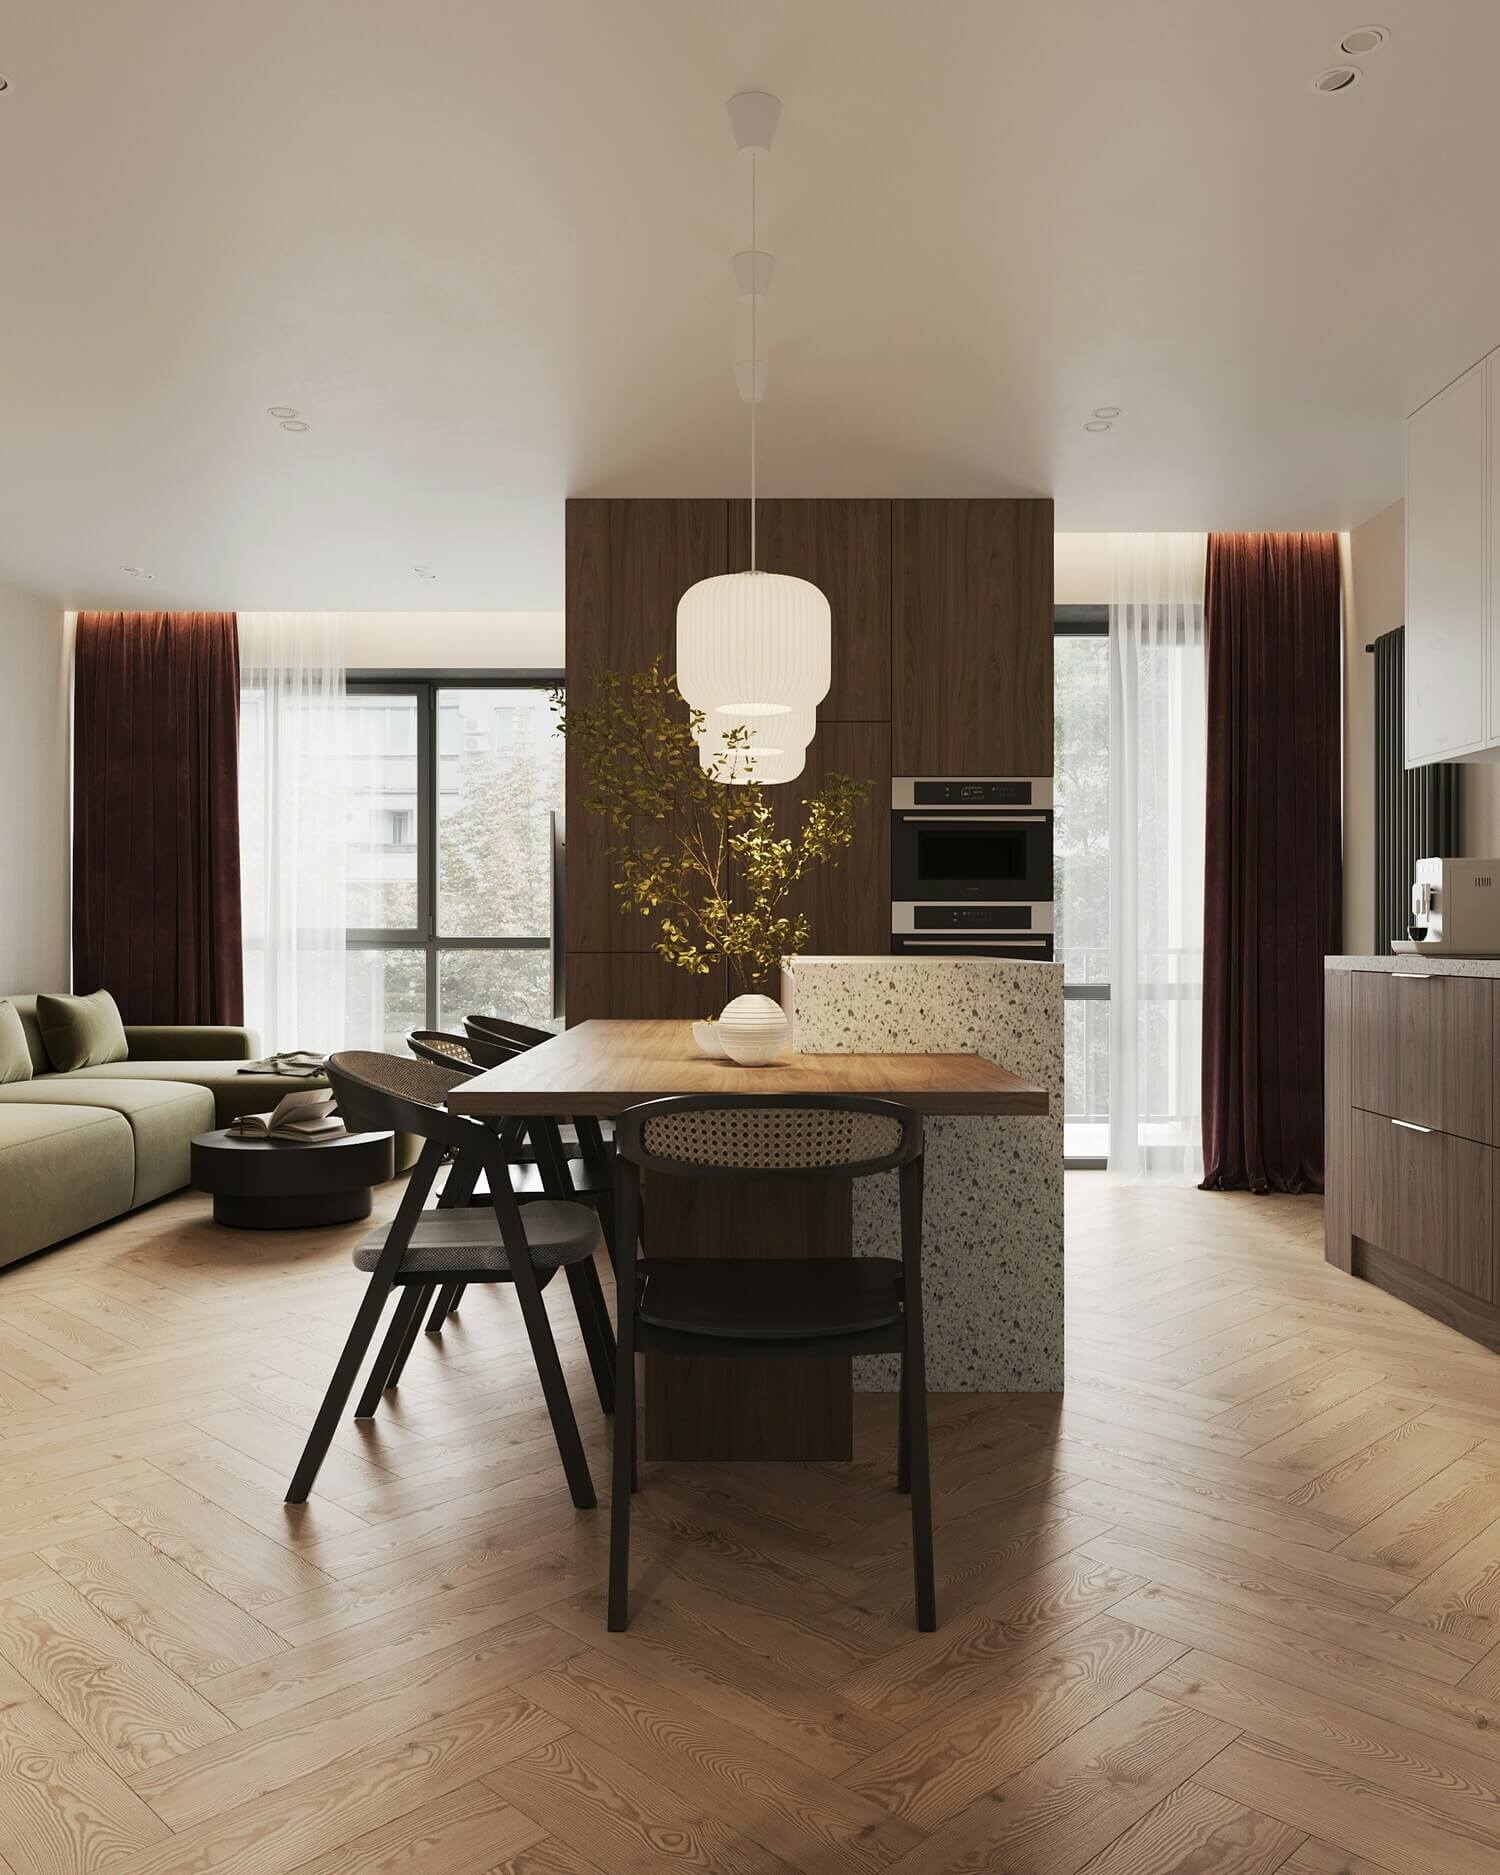
The vignette. Move in closer for a concentrated slice of the room, often shot vertically. These mid-range images highlight how a group of elements works together, like an armchair paired with the artwork above it. Vertical vignettes also suit portrait-format feeds such as Pinterest.
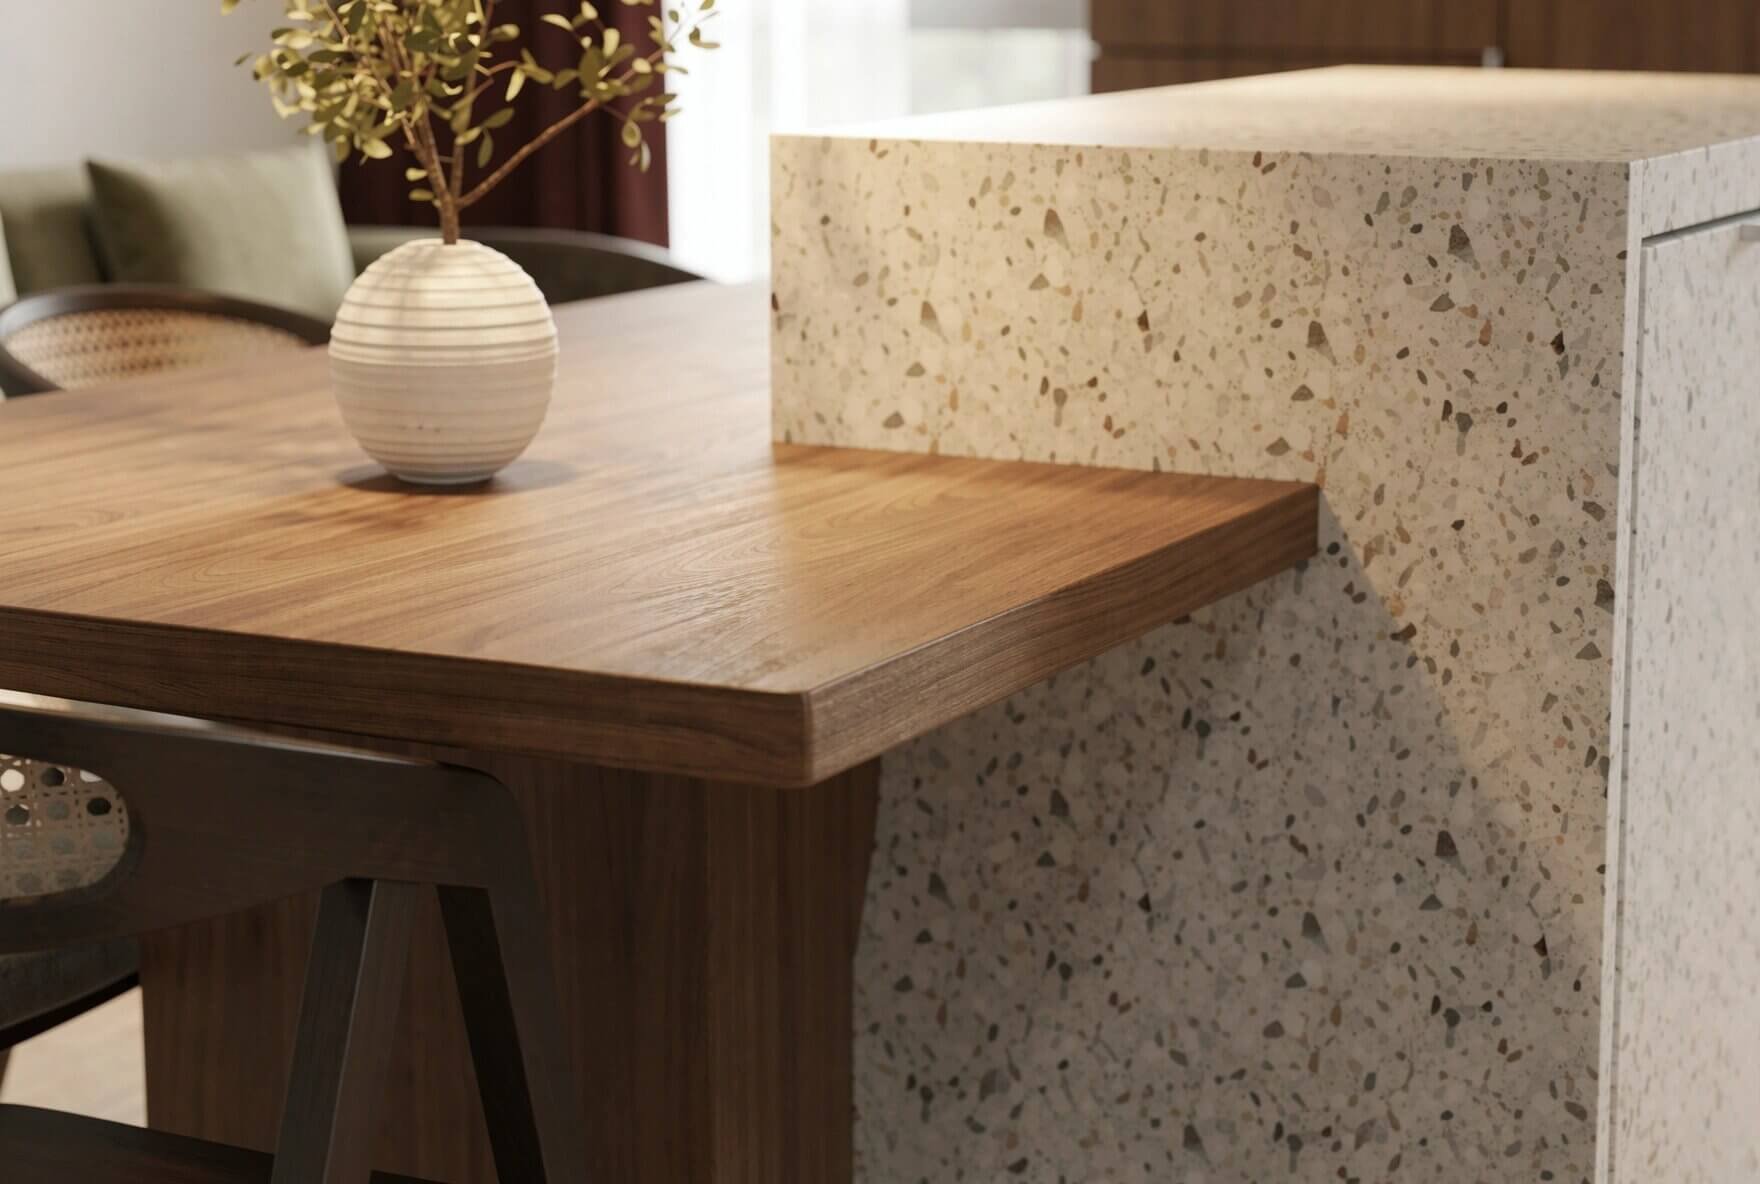
The detail shot. Get right in on the textures and materials that make the design special, the grain of a stone counter or the weave of a fabric. A longer or macro lens with a soft background keeps the attention on the one thing you are showing.
The shoot is only half the work. Check vertical lines first: walls and door frames can look slightly tilted even when you were careful with the camera. In Lightroom Classic, apply the lens profile correction, then use Upright in the Transform panel (Vertical, or Guided to draw along the lines yourself). Correction crops the edges, which is why that extra room pays off.
Check your white balance and whether the paint colors look true to life, since indoor lighting can leave white walls looking yellow or blue. If you bracketed the windows, blend those exposures into a single balanced image with a believable view outside, by hand with masks or with a tool such as Lightroom’s HDR Photo Merge.
A slight lift in exposure or contrast may be enough after that. Go easy on sharpening, since a heavy hand quickly makes a real photo look artificial. If the image documents a finished project, correct the photo but don’t redesign the room.
A full photoshoot is not always practical or possible, especially before a room is built. That’s where AI rendering becomes a useful companion, as long as you keep the jobs separate: a photograph records a real room, while a render visualizes a proposed design.
MyArchitectAI turns an image exported from SketchUp or a rough sketch into a photorealistic visualization, and the company says renders take under 10 seconds. It runs in a web browser on desktop, tablet, or phone, with no pricey hardware to buy. For visualizing a room that does not physically exist yet, it is quick and affordable.
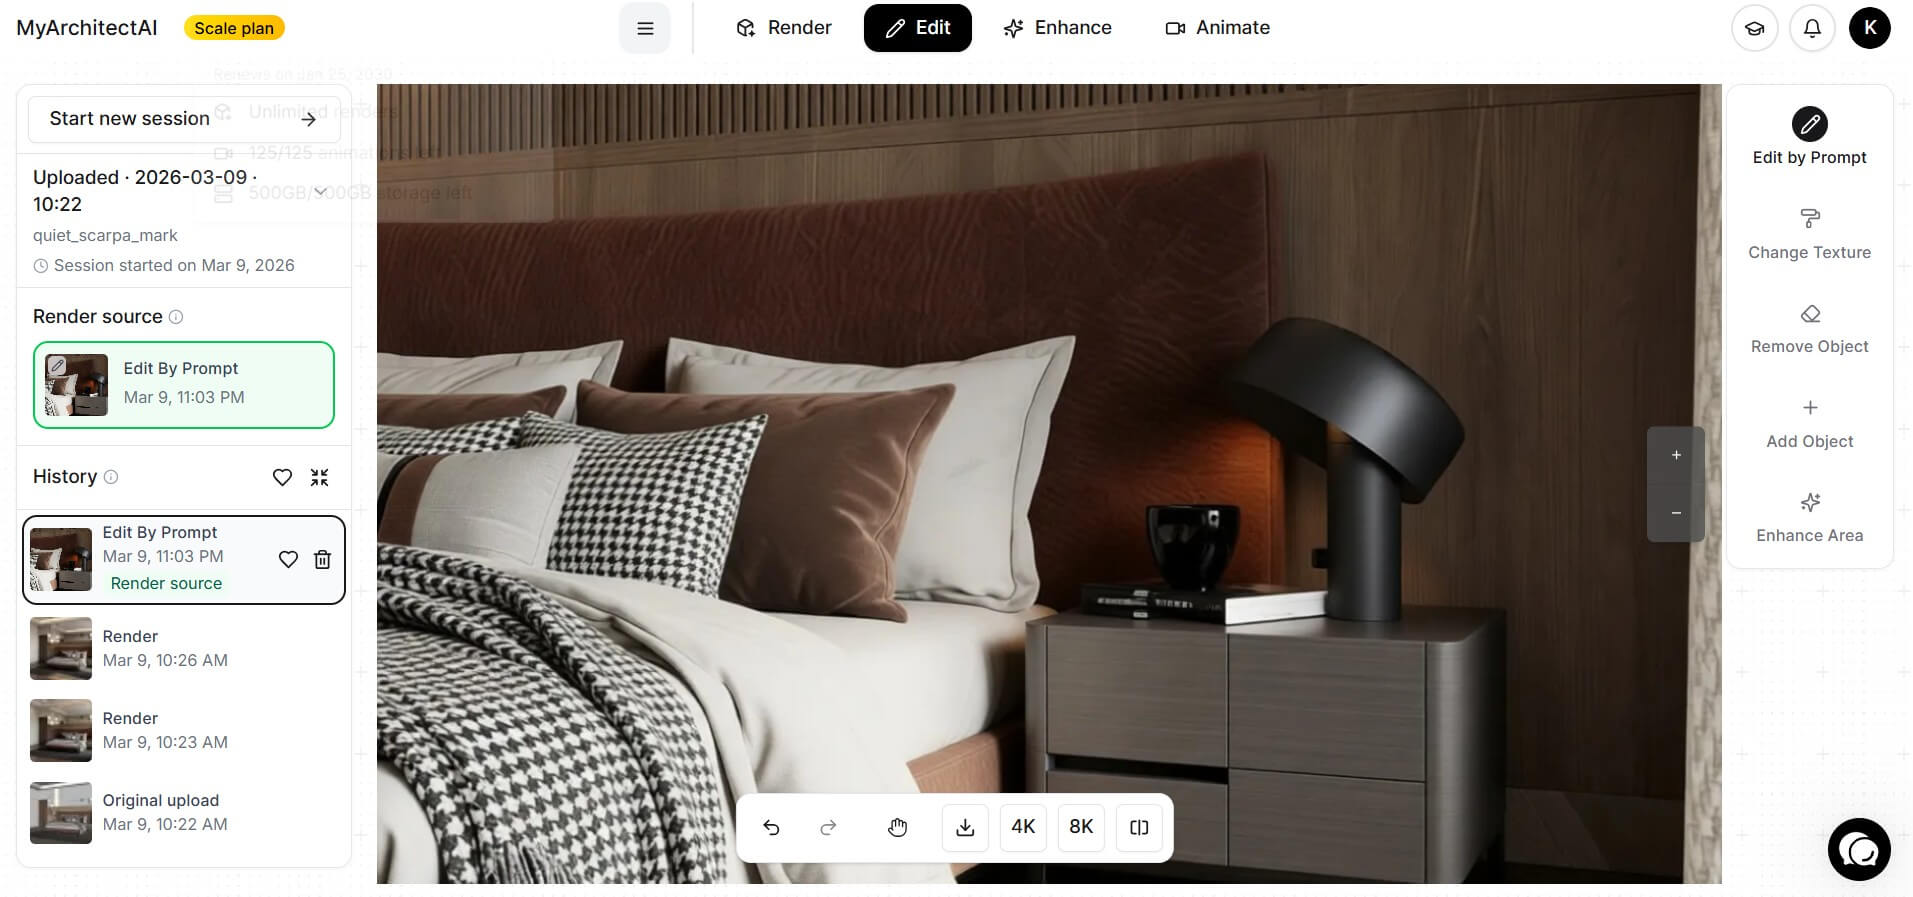
It also works alongside a real shoot. You can test a color palette or furniture layout as a render before styling the physical room. MyArchitectAI says its style transfer feature applies a reference image’s look while preserving the input geometry. Renders can also help you pitch a concept before a photographer documents the finished room.
What a render can’t do is stand in for photos of the finished space. It shows how a design could look, not how the built room actually looks. Label renders as visualizations, and use real photography to document completed work in a portfolio or publication.
Strong interior design photography comes down to a handful of skills working together: handling the light, keeping your lines straight, styling with intention, and adding a final polish in the edit. None of it demands the most expensive kit on the shelf, only attention and practice.
When the room isn’t built yet or a shoot is not in the cards, AI rendering can carry the visual so your ideas keep moving, and you can try MyArchitectAI’s interior rendering with 10 free renders. Once the room is real, pick up the camera. Your next project will show the difference.