Let’s be honest: rendering in Archicad has always been the least fun part of the process.
Endless settings, noisy previews, overnight render queues, and results that still look “off.”
But things have changed, and rendering in Archicad doesn’t have to be this painful anymore.
With the right approach (and tools), you can create studio-quality visuals in minutes, not hours—no experience required.
In this guide, I'll break down exactly how to render in Archicad using three distinct approaches—from the integrated CineRender engine to next-generation AI tools that deliver professional results before your coffee gets cold.
Archicad gives you multiple paths to photorealistic visualization:
Each method has its place in your workflow. Let's explore how to use them effectively.
But before we begin, please note that render dialogs typically evolve with each software version. Nevertheless, once you’ve internalized the workflow, the layout differences won’t slow you down.
CineRender comes bundled with Archicad, powered by the same engine behind Cinema 4D. While not the fastest option, it's already there and handles basic visualization needs.
We focus here mainly on “Basic Settings” with a simpler interface. If you switch to Detailed, you unlock more controls.
Set up your 3D view exactly how you want it rendered. Use the 3D navigation tools to frame your shot. Remember - what you see is what you'll get.
Pro tip: Save multiple views for different angles. You can batch render them later while you work on other things.
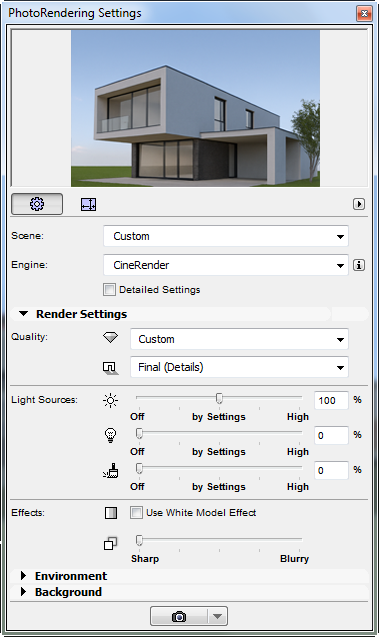
Navigate to Document > Creative Imaging > PhotoRendering Settings. This is your command center for rendering parameters.
To work in Basic mode, ensure the Detailed Settings is unchecked.
Note: All parameters in Basic have identical counterparts in Detailed.
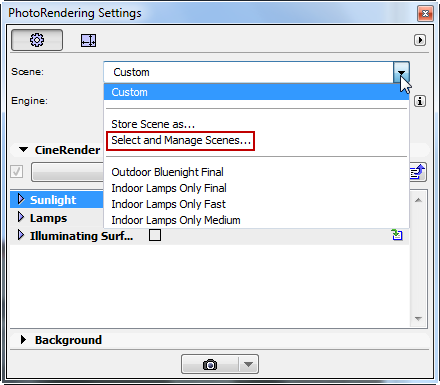
Choose a preset that matches your project, such as:
Each preset automatically adjusts dozens of parameters. You can tweak them later if needed.
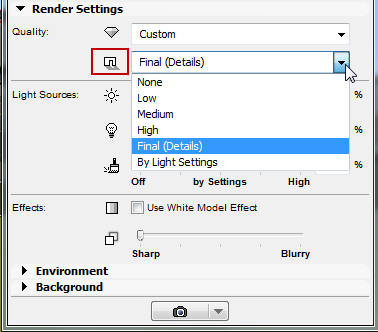
Under Quality, choose levels for:
Higher settings improve visuals but cost more render time.

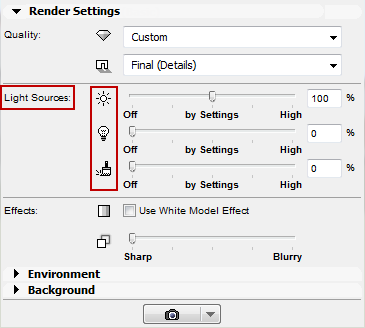
There are three sliders to use here:
Mid-slider (“By Settings”) means you use the model’s native value.
Click on the Environment tab. Here you control:
If using HDRI, you may need to toggle or override Sun settings via sliders. For architectural exteriors, Physical Sky with your project's actual location creates the most convincing shadows*.
*Note that in Basic Settings, the Environment panel typically offers a city chooser (not full geographic coordinates) under Basic mode. Only in Detailed mode do you get full latitude/longitude.
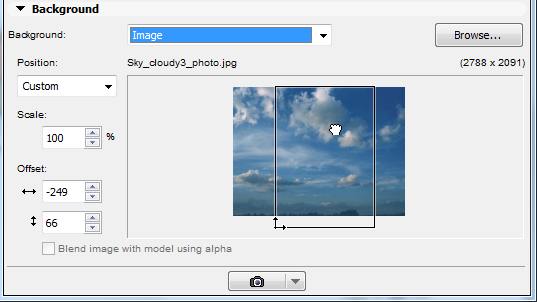
If the environment is active, the background is largely overridden. Otherwise:
For Cinerender, you can enable an alpha channel (transparent background) in Detailed Settings (General Options).
Higher resolution means longer render times. Start low for tests to save some time; go high for finals.

CineRender reads your Archicad surfaces, but sometimes needs help. Open Options > Element Attributes > Surfaces to adjust:
Don't go overboard here. Basic adjustments usually work better than complex material setups.
Hit the Render button in the PhotoRendering palette. A progress window shows elapsed time and estimated completion.
You can continue working on floor plans or sections while rendering, though your machine might slow down.
Here's where things get interesting. While CineRender makes you wait 45 minutes for a presentation-quality image, MyArchitectAI rendering delivers comparable (often better) results in 10-30 seconds. Yes, seconds, not minutes.
This method is best for architecture firms that need to produce multiple high-quality visuals daily—even if you don’t know how to render in Archicad or lack dedicated staff for the task.
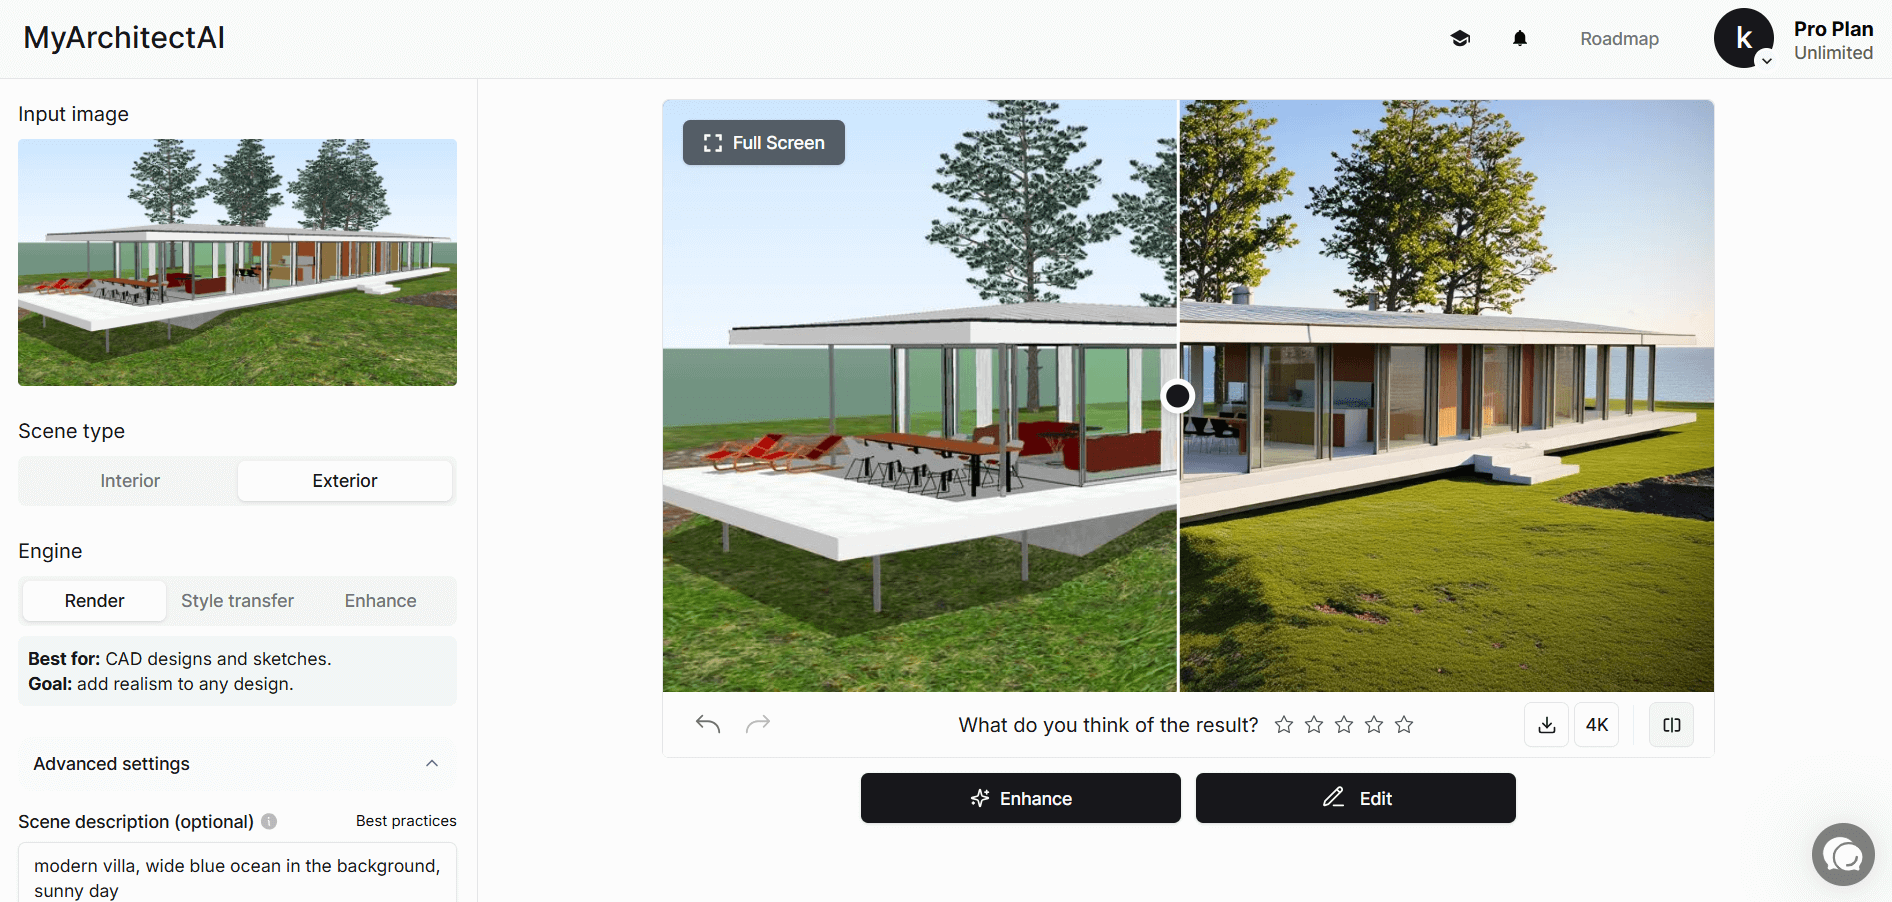
MyArchitectAI takes your Archicad exports and transforms them into photorealistic visuals using its proprietary AI engine that actually understands architectural design. No more fiddling with hundreds of parameters - the AI handles lighting, materials, and atmosphere automatically.
Here’s how to render with Archicad & MyArchitectAI:
In your 3D view, go to File > Save As and choose JPEG or PNG. That's it. No special export settings, plugin installation, or compatibility checks.
Open MyArchitectAI in any browser (yes, even Safari on your Mac). Create a free account and upload your Archicad export. The file uploads in seconds.

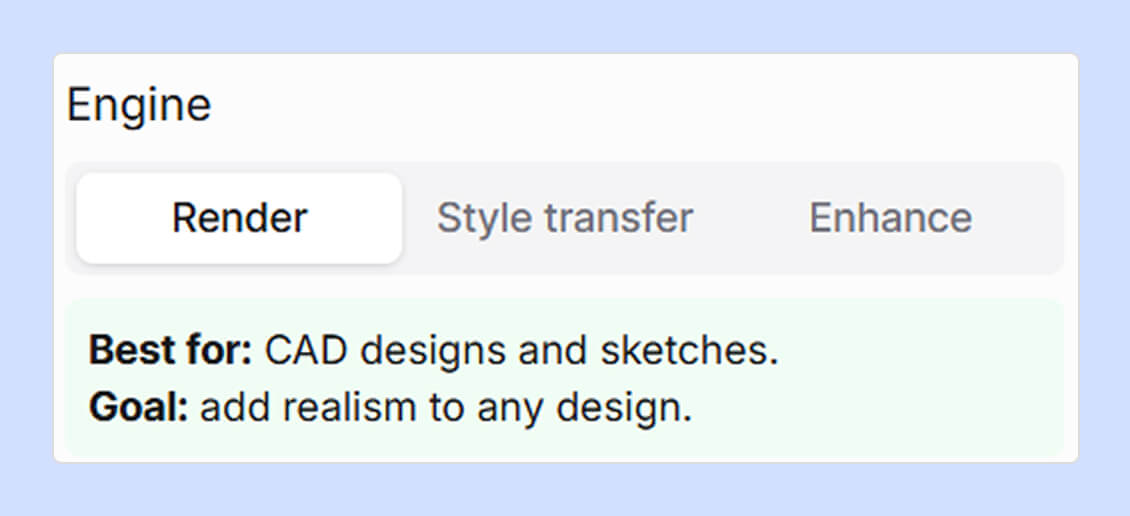
Three AI engines are available.
The Render engine is perfect for quick client presentations where you need to show the actual design (and not an artistic or half-baked-in-hurry interpretation).
Even the best Archicad render settings make you go hunting through material libraries, which can take ages.
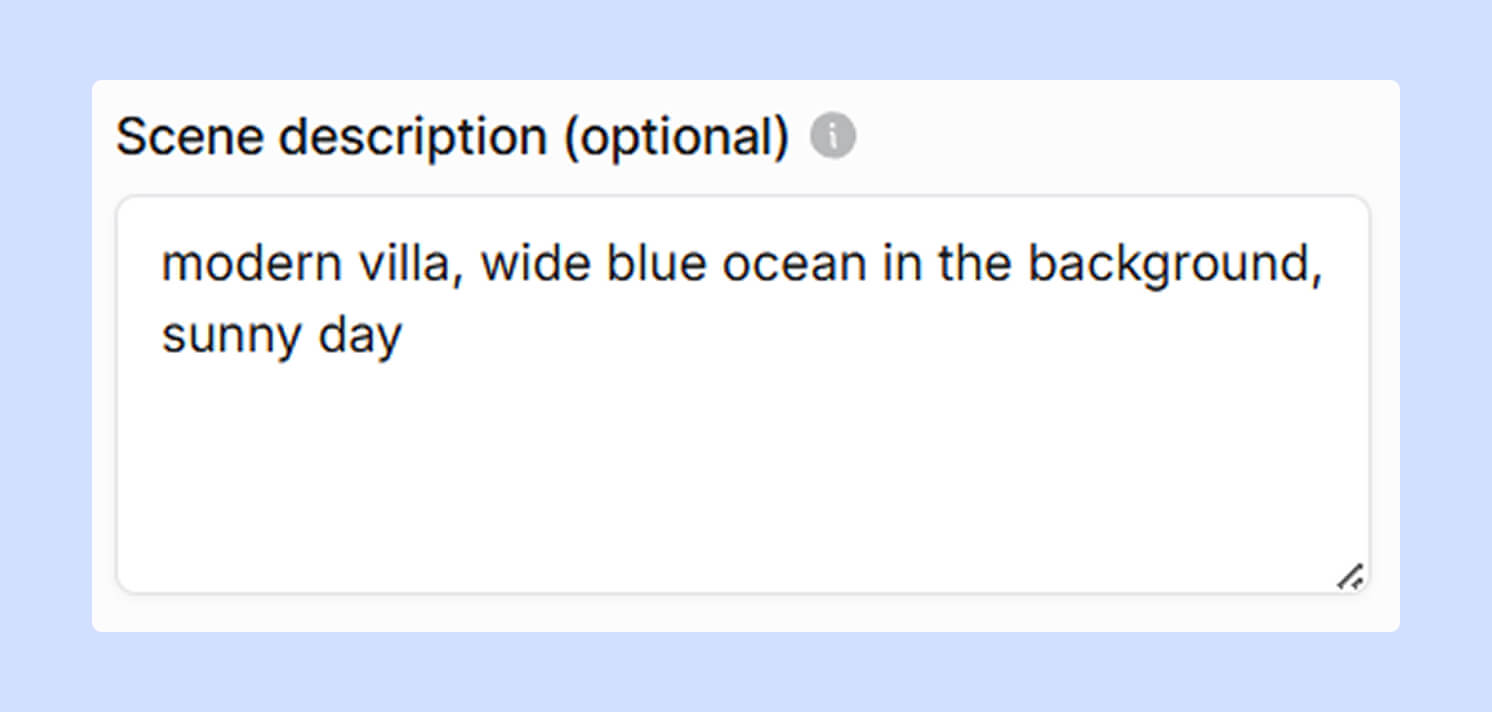
In MyArchitectAI, just describe your vision. e.g., "modern villa, wide blue ocean in the background, sunny day."
The AI interprets architectural language and automatically applies the appropriate finishes.
Click the Generate button and count to ten. By the time you've checked your email, the render is done. Full photorealistic quality with perfect lighting, convincing materials—all in less time than it takes CineRender to calculate the first pixel.
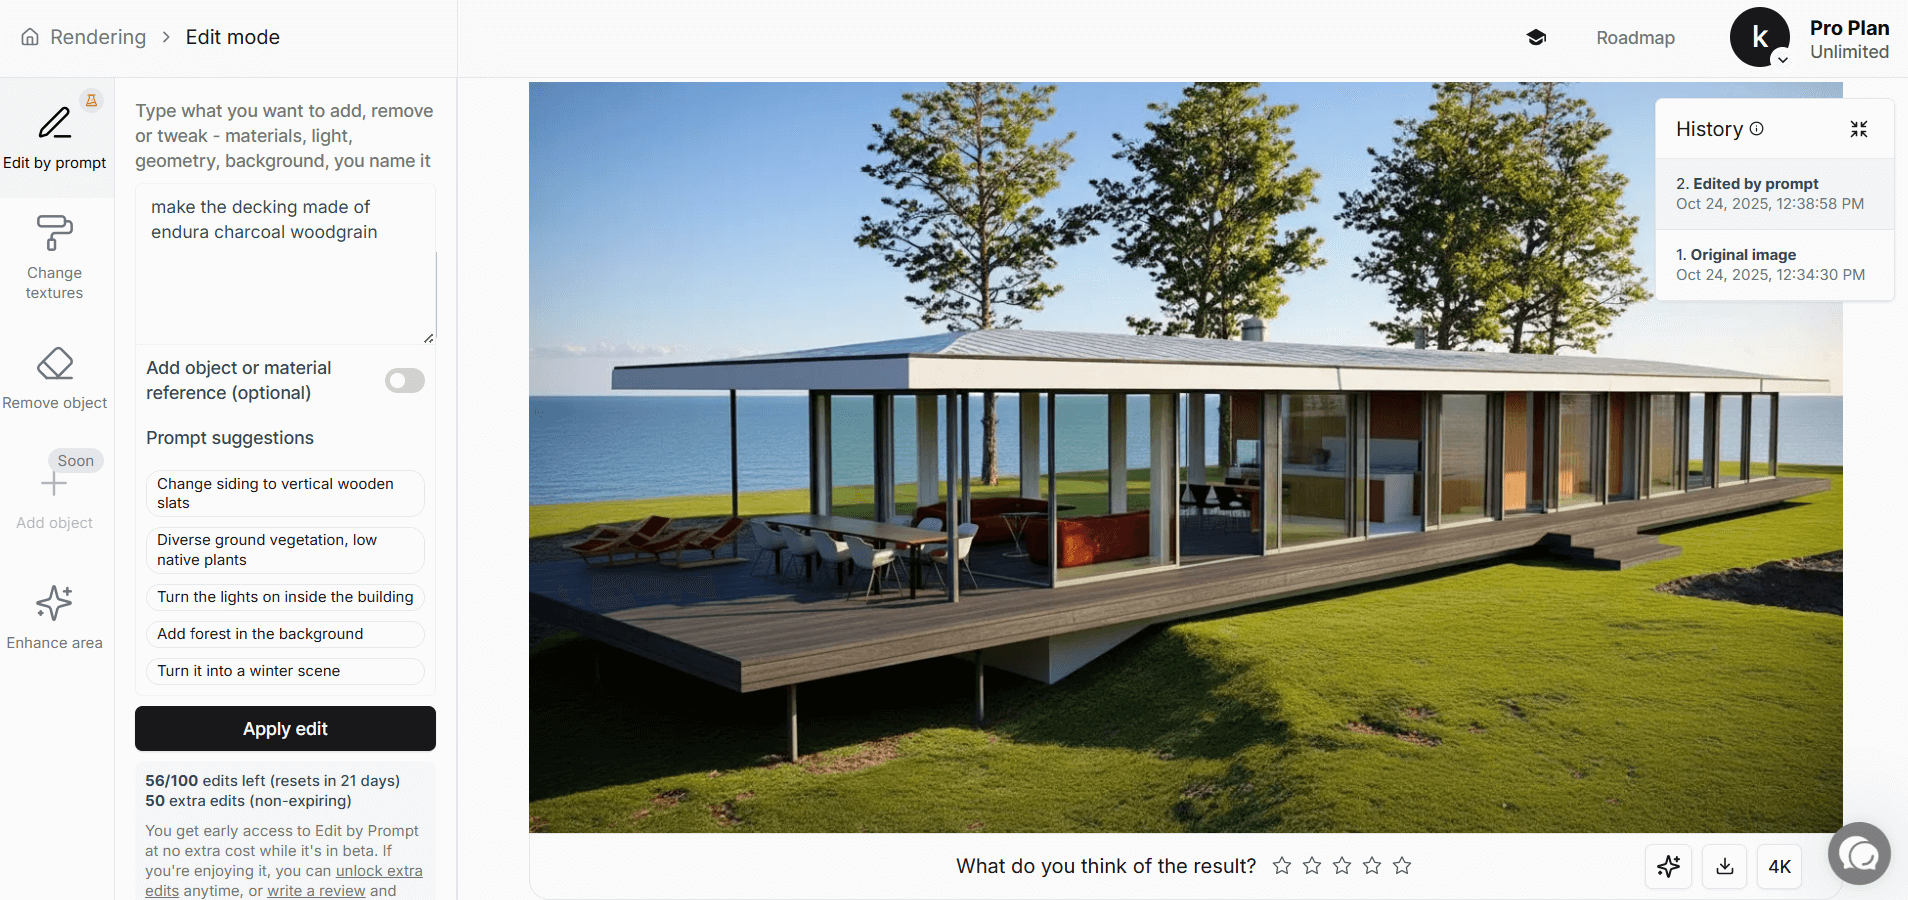
Client wants marble instead of wood? Different furniture? Click Edit and describe the change, e.g., "make the decking made of endura charcoal woodgrain."
The AI adjusts the image instantly. No going back to Archicad for re-rendering.
Why this changes everything for Archicad users:
→ Cross-platform freedom: Archicad users often work across Mac and Windows environments. MyArchitectAI runs in any browser on any device - desktop, laptop, even iPad or phone. Your rendering capability travels with you.
→ Mac performance solution: Even when you know how to render in Archicad on a Mac, running it on a Mac often pushes hardware limits. Adding CineRender calculations can bring your system to a crawl. MyArchitectAI, on the other hand, processes everything in the cloud.
→ Design iteration speed: Show clients five different material schemes in the time CineRender needs for one image. This isn't about cutting corners; it allows you both to explore more options for the perfect solution.
In a nutshell:
For those times when you need absolute maximum quality, like competition entries or high-stakes presentations, external rendering engines provide ultimate control.
Twinmotion, Lumion, Octane, and similar specialized CGI programs connect to Archicad through direct sync plugins or file exports. They simulate real-world physics of light for unmatched realism, but that comes with a cost. And you really need to know a lot about how to render in Archicad.
The process typically follows this pattern:
The trade-off for high realism of physically-based renderers is that they demand serious computing power:
Without the proper hardware, you're looking at extremely long render times or simplified scenes that defeat the purpose.
CineRender
AI rendering
Physically-based renderers
First, follow these best practices:
If you're using CineRender, these settings balance quality and speed:
Pro tip: In night scenes, reduce Global Illumination quality. Artificial lights don't need as many light bounces, and this alone can cut render time significantly.
Mac users face unique challenges when rendering with Archicad. Apart from burdening the machine system, external renderers often lack Mac support or run poorly under Rosetta.
Here are your best Mac rendering strategies:
Now you know how to render with different Archicad methods that contain everything needed for stunning visualizations. The only question that remains is how long you want to wait for them.
The best render is the one that's finished when you need it. So, stop letting rendering bottleneck your design process. Pick the method that matches your current project's needs and start delivering the visuals your clients deserve.
To enhance your workflow further, check our guide on the best AI tools for Archicad.

.webp)