If you're tired of spending hours tweaking sliders in your rendering software only to get your images looking like a video game, you're not alone.
Creating photorealistic architectural renders requires a lot of skills and practice in modeling, lighting, and texturing your scenes.
Once you dial them in, though, you'll be able to impress your clients, land more work, and raise your rates.
You’ve got two ways to get there:
It's key to match the tool to the task: using a presentation-grade tool for an early massing study is overkill, while relying on a lightweight AI renderer for a competition won’t cut it.
Since AI-powered tools are basically the easy button, the rest of this guide will focus on achieving photorealism using traditional 3D rendering programs.
There are three main components to a photorealistic rendering: a detailed 3D model, lifelike materials, and accurate lighting.
If you get them right, you'll achieve 90% of the job. But if even one of them is not handled correctly, the realism of your render will turn out subpar.
Then, the remaining 10% of the work comes down to aspects such as camera angles and composition, atmosphere, scale, and post-processing.
Let's go through each of them in detail.
The first step is to prepare your CAD design for photorealism. The same rules apply whether you're modeling in SketchUp, Revit, Archicad, or any other CAD software.
Here's a checklist for you:
Once you take care of the above points, run a low-res clay render (without any textures) to check massing, edge highlights, and shadow readability.
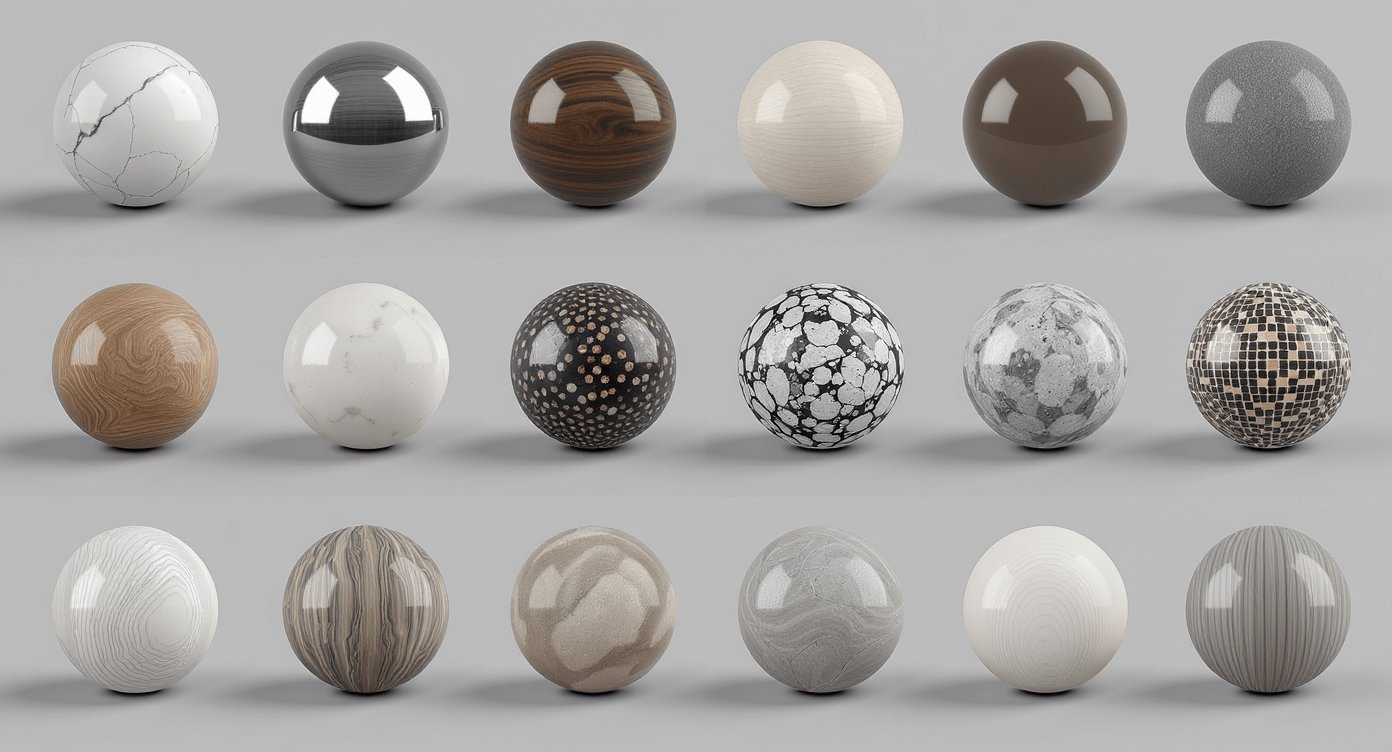
Properly texturing surfaces has a big impact on how realistic your renders will turn out.
Apply high-quality, high-resolution textures on surfaces, adjust material settings (reflection, gloss, bump) to match real-life appearances, and use proper UV mapping so they don’t appear blurry or stretched.
Using PBR (Physically Based Rendering) materials or realistic material libraries that simulate real-world material properties (color, reflectivity, gloss, bump maps) will make your scenes come to life.
Pro tip: vary material properties with subtle imperfections (e.g., slight roughness, scratches, or smudges) to avoid a plasticky or overly perfect look.
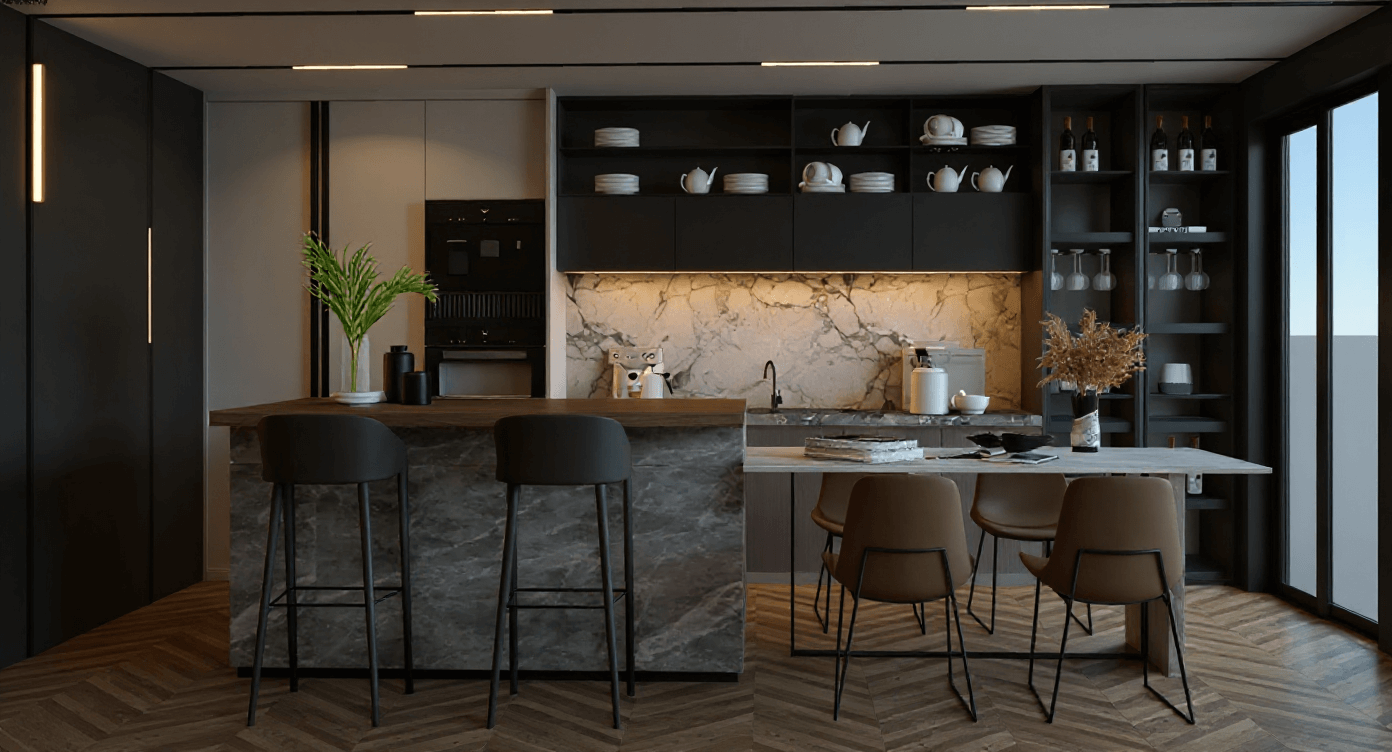
For exterior renders, position the light source to cast natural shadows that highlight the architecture (e.g., morning or late afternoon sun for warm light and long shadows).
For interiors, use a mix of sunlight through windows and interior light fixtures for realism.
Balancing shadows with soft lighting effects (area lights, soft sun shadows, ambient occlusion) will give your scenes some extra depth. And if it still looks flat, introduce contrast by adjusting light angles or adding fill lights to create soft shadows.
Always test different lighting setups and adjust them to your scene's desired mood.
Pro tip: avoid using ambient lighting as it cancels out shadows. Choose more natural light sources instead to give your renders more realism.
Approach the rendering process like photography: choose a camera angle and composition that a real photographer would use. For interiors, stick to eye-level angles. For exteriors, raise or lower the camera depending on whether you want to highlight the building’s form, surroundings, or overall massing.
Always experiment with different camera angles and positions until you find the one that helps you tell the story of the space in the most compelling way.
Pro tip: avoid extremely wide-angle lenses that distort the view. Stay around 35–50mm full-frame equivalent for a natural look, unless a wider lens is needed for tight spaces.
The right atmosphere will turn your render into a cinematic shot that grabs attention instantly.
Use effects such as volumetric light to create moody interiors, fog, and haze to add depth to rural scenes, or overcast for calm and realistic residential exteriors.
One or two of these will be enough - if done right, they'll make a massive difference.
Pro tip: D5 Render's "AI atmosphere match" feature makes it a breeze to test different atmosphere variations.
Always double-check that all objects in your render are at the correct scale. The same applies to textures. Undersized doors and oversized grass textures are common mistakes that will ruin the photorealism of your renders.
Real-world objects and surfaces aren't perfect, so breaking the “CG perfection” will add authenticity and realism to your renders.
Include imperfections such as subtle grime on glass, variation in color on wood, or small dents on metal. Also, add more wear on objects' edges than on their flat surfaces.
Then, randomize the object placement a bit so that not everything is aligned perfectly.
Pro tip: drop a 5–10 % noise or subtle smudging map into the roughness channel of every glossy material. It will remove that glossy "CG look", so surfaces look naturally worn and real.
Sharp edges and corners hardly ever exist in real life, so make sure to avoid them in your CAD models. Round the edges of your objects and materials for a more natural and realistic look.
Pro tip: if you're a SketchUp user, there's a handy extension called RoundCorner that makes it easy.
And lastly, polish the final render using an image editor like Photoshop.
Gently adjust color balance, contrast, and brightness for a realistic photographic look. Add subtle effects such as glare to light sources, a slight vignette for focus, or composite elements (like a sky replacement or people silhouettes) to enhance realism.
Avoid heavy filters that will make the render look artificial – aim for natural, slight corrections.
Pro tip: use an AI render enhancer to apply all these improvements in one click. MyArchitectAI, Magnific, and Clarity are some of the most popular enhancers made for archviz.
We wrote a separate guide on the best rendering software for architects that compares every major tool. Here’s the rapid-fire version:
MyArchitectAI – one-click, cloud-based photorealism powered by AI. Perfect when you need fast “wow” images on any machine.
V-Ray – the gold standard for ultra-precise lighting and material fidelity. Choose it when pixel-perfect realism is non-negotiable.
D5 Render – real-time GPU rendering for instant lighting tweaks, animation, and smooth walkthroughs during live client reviews.
Very often, the best solution is to create a hybrid stack, combining the benefits of multiple 3D rendering tools at once. Mix and match to hit deadlines without sacrificing quality.
Achieving photorealistic architectural renders is a step-by-step process combining accurate modeling, realistic materials, proper lighting, and thoughtful post-production.
If you're new to architectural visualization, you should focus on the fundamentals (good geometry, lighting, and textures) before chasing complex effects, as getting these right results in the most dramatic improvement in photorealism.
There are also plenty of easy-to-follow archviz courses you can take to help you get up to speed (some even free).
Happy rendering!

.webp)