Nothing warms up cold CAD lines quite like the handmade aesthetic of a watercolor rendering.
This rendering style, commonly used in architecture, interior design, and landscaping, will help you communicate intent without locking you into hard specs, getting your concepts approved faster.
You can use them in early massing studies, mood boards, quick client gifts, Instagram teasers, and competition boards.
There are two ways to turn your drawing into a watercolor rendering:
The artisan (manual) way has a genuine, analog charm and gives you greater control over the output, but the tradeoff is more time and effort required to create it.
The digital way, on the other hand, is much faster, allowing for quick iterations, which is invaluable for firms working on tight deadlines. Most architectural rendering software now includes watercolor-style presets alongside their photorealistic modes
Let's go through both techniques so you can decide which one is best for your needs.
While you can convert a design to watercolor style using traditional image editing programs, using AI rendering software like MyArchitectAI is by far the easiest and quickest method. It lets you go from a drawing (or a CAD model) to watercolor rendering in under a minute.
Here's a step-by-step tutorial.
2. Upload an image of linework or CAD design.
.jpg)
3. Select if you're working on an interior or exterior design.
.avif)
4. Pick the "style transfer" rendering engine.
.avif)
5. Next, switch the toggle to "conceptual" style.
.jpg)
6. Select the watercolor style preset, and click the "generate" button.
.jpg)
That's it! Your design will be rendered in 10 seconds.
.jpg)
The same AI approach works for rendering architectural drawings in other styles than watercolor, e.g. marker, clay, pencil sketch, bauhaus, and more.
While not as quickly as MyArchitectAI, Photoshop lets you achieve a similar result.
Here's how to achieve a watercolor effect in Photoshop:
1. Start by fading the lines of your CAD/linework to make them disappear under washes. Go to Image → Adjustments → Desaturate → then Image → Adjustments → Brightness/Contrast → drag Brightness to around 70 until the lines look like a light-gray pencil.
2. In the Layers panel, change the blend mode to “Multiply" to let color layers show through while keeping the outlines visible.
3. Add a paper texture layer by uploading a scan of cold-press paper (or grab a free JPEG texture online). Place it on top, set the Blend Mode to "Overlay" and lower the Opacity to about 40%.
4. Load watercolor brushes (they'll give you soft edges, pigment pooling, and bristle streaks automatically). Go to Window → Brush Settings → click the ☰ menu → Import Brushes → choose Kyle’s Watercolor pack (free with CC) or any ABR you like.
5. Block in light washes. Make a new layer under the linework. Grab a big soft watercolor brush, flow 15%, pick a very light hue. Paint sky, ground, and big facade shapes. Work light-to-dark without worrying about perfection.
6. Add mid-tones and texture to build depth and keep surfaces from looking flat.
7. Create granulation. Select your color layers → Filter → Noise → Add Noise → Amount 2%, Gaussian, Monochromatic. Then, right-click the Noise layer and click Create Clipping Mask to limit it to the paint layers.
8. Soften the edges to recreate wet-on-wet feathering without manual water control. Use the Smudge Tool, set the Strength to 20%, and pick a soft round tip. Lightly push outward on any hard edge you want to “bloom.”
9. Apply a global color tweak to add a subtle film warmth and unify your palette. Select the topmost layer, then go to Layer → New Adjustment Layer → Color Lookup → choose Fuji Velvia 50 LUT, and lower the opacity to around 20%.
.png)
Last but not least, the artisan way.
While it takes the most effort, the artisan-level results are often worth it, as manually-crafted watercolor renders deliver the authenticity and emotional warmth that digital tools struggle to recreate.
But before we dive into the details of the technique, let's prepare the equipment you'll need to render your designs in watercolor style:
Once you have the above ready, follow this 30-minute workflow that will let you go from CAD/linework to a watercolor hero shot:
1. Print your linework at 20% grey, and tape all four edges to a board. The light lines will disappear under paint, and tape will prevent warping.
2. Lay the sky and ground wet-on-wet with very light washes. This will help establish the atmosphere and horizon contrast early.
3. Apply flat facade washes, and drop in roof planes while the first layer is still slightly damp for soft edges. This locks in major value blocks without the details.
4. Punch in dark accents such as window mullions, door recesses, and tree trunks using a #2 round brush. The high-contrast spots will guide the viewer’s eye.
5. Lift window highlights, add foliage splatter, and throw a quick shadow glaze under eaves. These small moves will add realism and depth.
6. Lastly, hit everything with a hair-dryer, peel the tape off slowly, and sign your name in the bottom right.
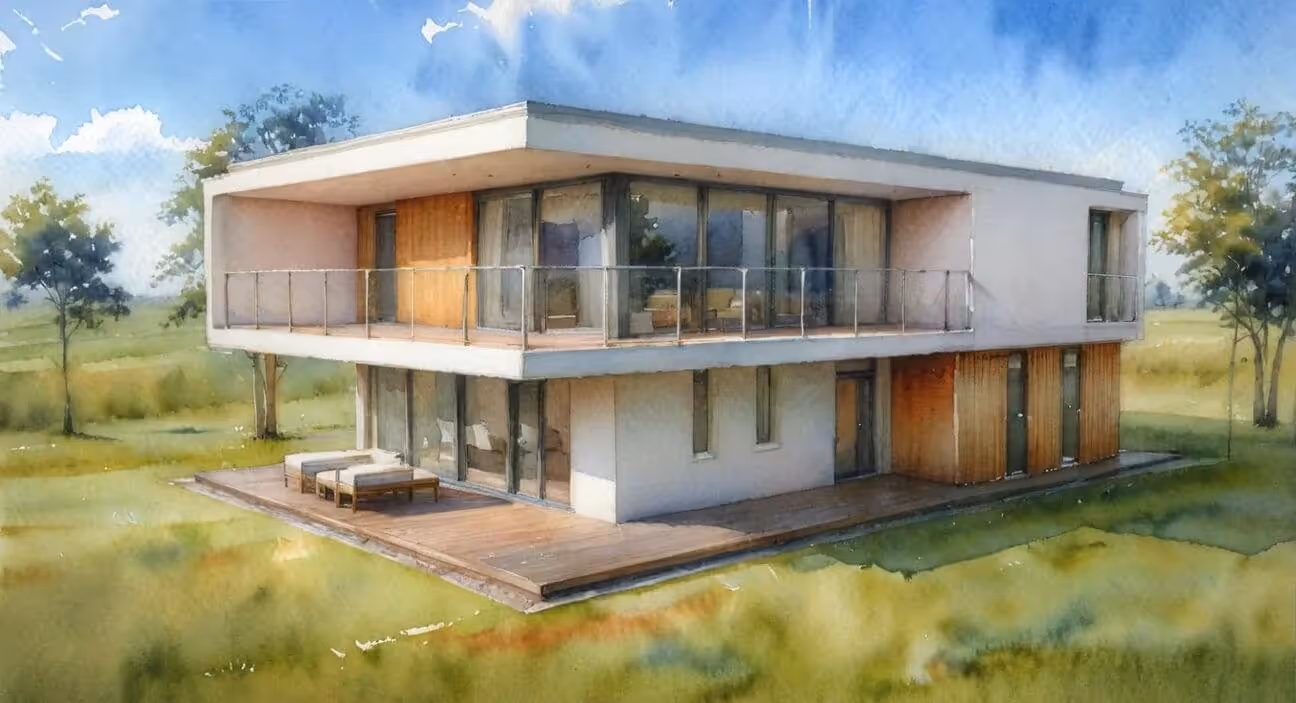
Horizon Cantilever House:
Blackwood Lantern Cabin:

Timber Veil Villa:

Palmera Cove Villas

Apricot Drift Suite:
.jpg)
Panorama Suite:
.jpg)
Aurora Soak Retreat:
.jpg)
No matter which technique you choose, watercolor renderings will be your secret weapon for injecting life, mood, and instant client buy-in into your line drawings and CAD designs.
So pick one, and start creating!
Watercolor is water-based, transparent, and quick-drying, making it a great fit for iterative concept work. Oil is opaque, slow-drying, and better suited for final gallery pieces.
Loose washes, line-and-wash, negative painting, and mixed-media overlays (ink, pastel) are the main techniques. Beginners only need washes and line-and-wash to cover 95% of architectural needs though.
A single wash on 300 gsm paper air-dries in about 5 to 10 minutes. Pro tip: use a hair dryer to cut the drying time in half.
Invert the building profile below the horizon, add a clear water wash, then drag vertical strokes downward. Finish with horizontal ripples using a dry brush.

.webp)